

Building Websites for Your Portfolio (Next, React, TailwindCSS, MambaUI) : Part 1


Table of contents
Over the last few months, I've added many resources to my toolbelt and developed a workflow for static site development. I will share a set of steps to follow to create a site for your portfolio mainly using Next, React components, and Tailwind CSS. I'm proud of being #communitytaught and this is my contribution!
This tutorial requires you to know HTML, CSS, and Javascript reasonably well, as well as be familiar with your coding environment and the CLI (referred to herein as terminal). It is also going to be dense in learning if you aren't familiar with React.
I will format this write-up technology first, so you can focus on building your skillset and see where these technologies integrate into front-end development. This is not completely comprehensive or the gold standard, but it works and makes clean, modern, modular websites.
React
If you don't know React, this will probably be the biggest learning curve of this project. Scrimba has an awesome React course that allows you to code alongside the tutorial. It requires HTML, CSS, and Javascript reasonably well.
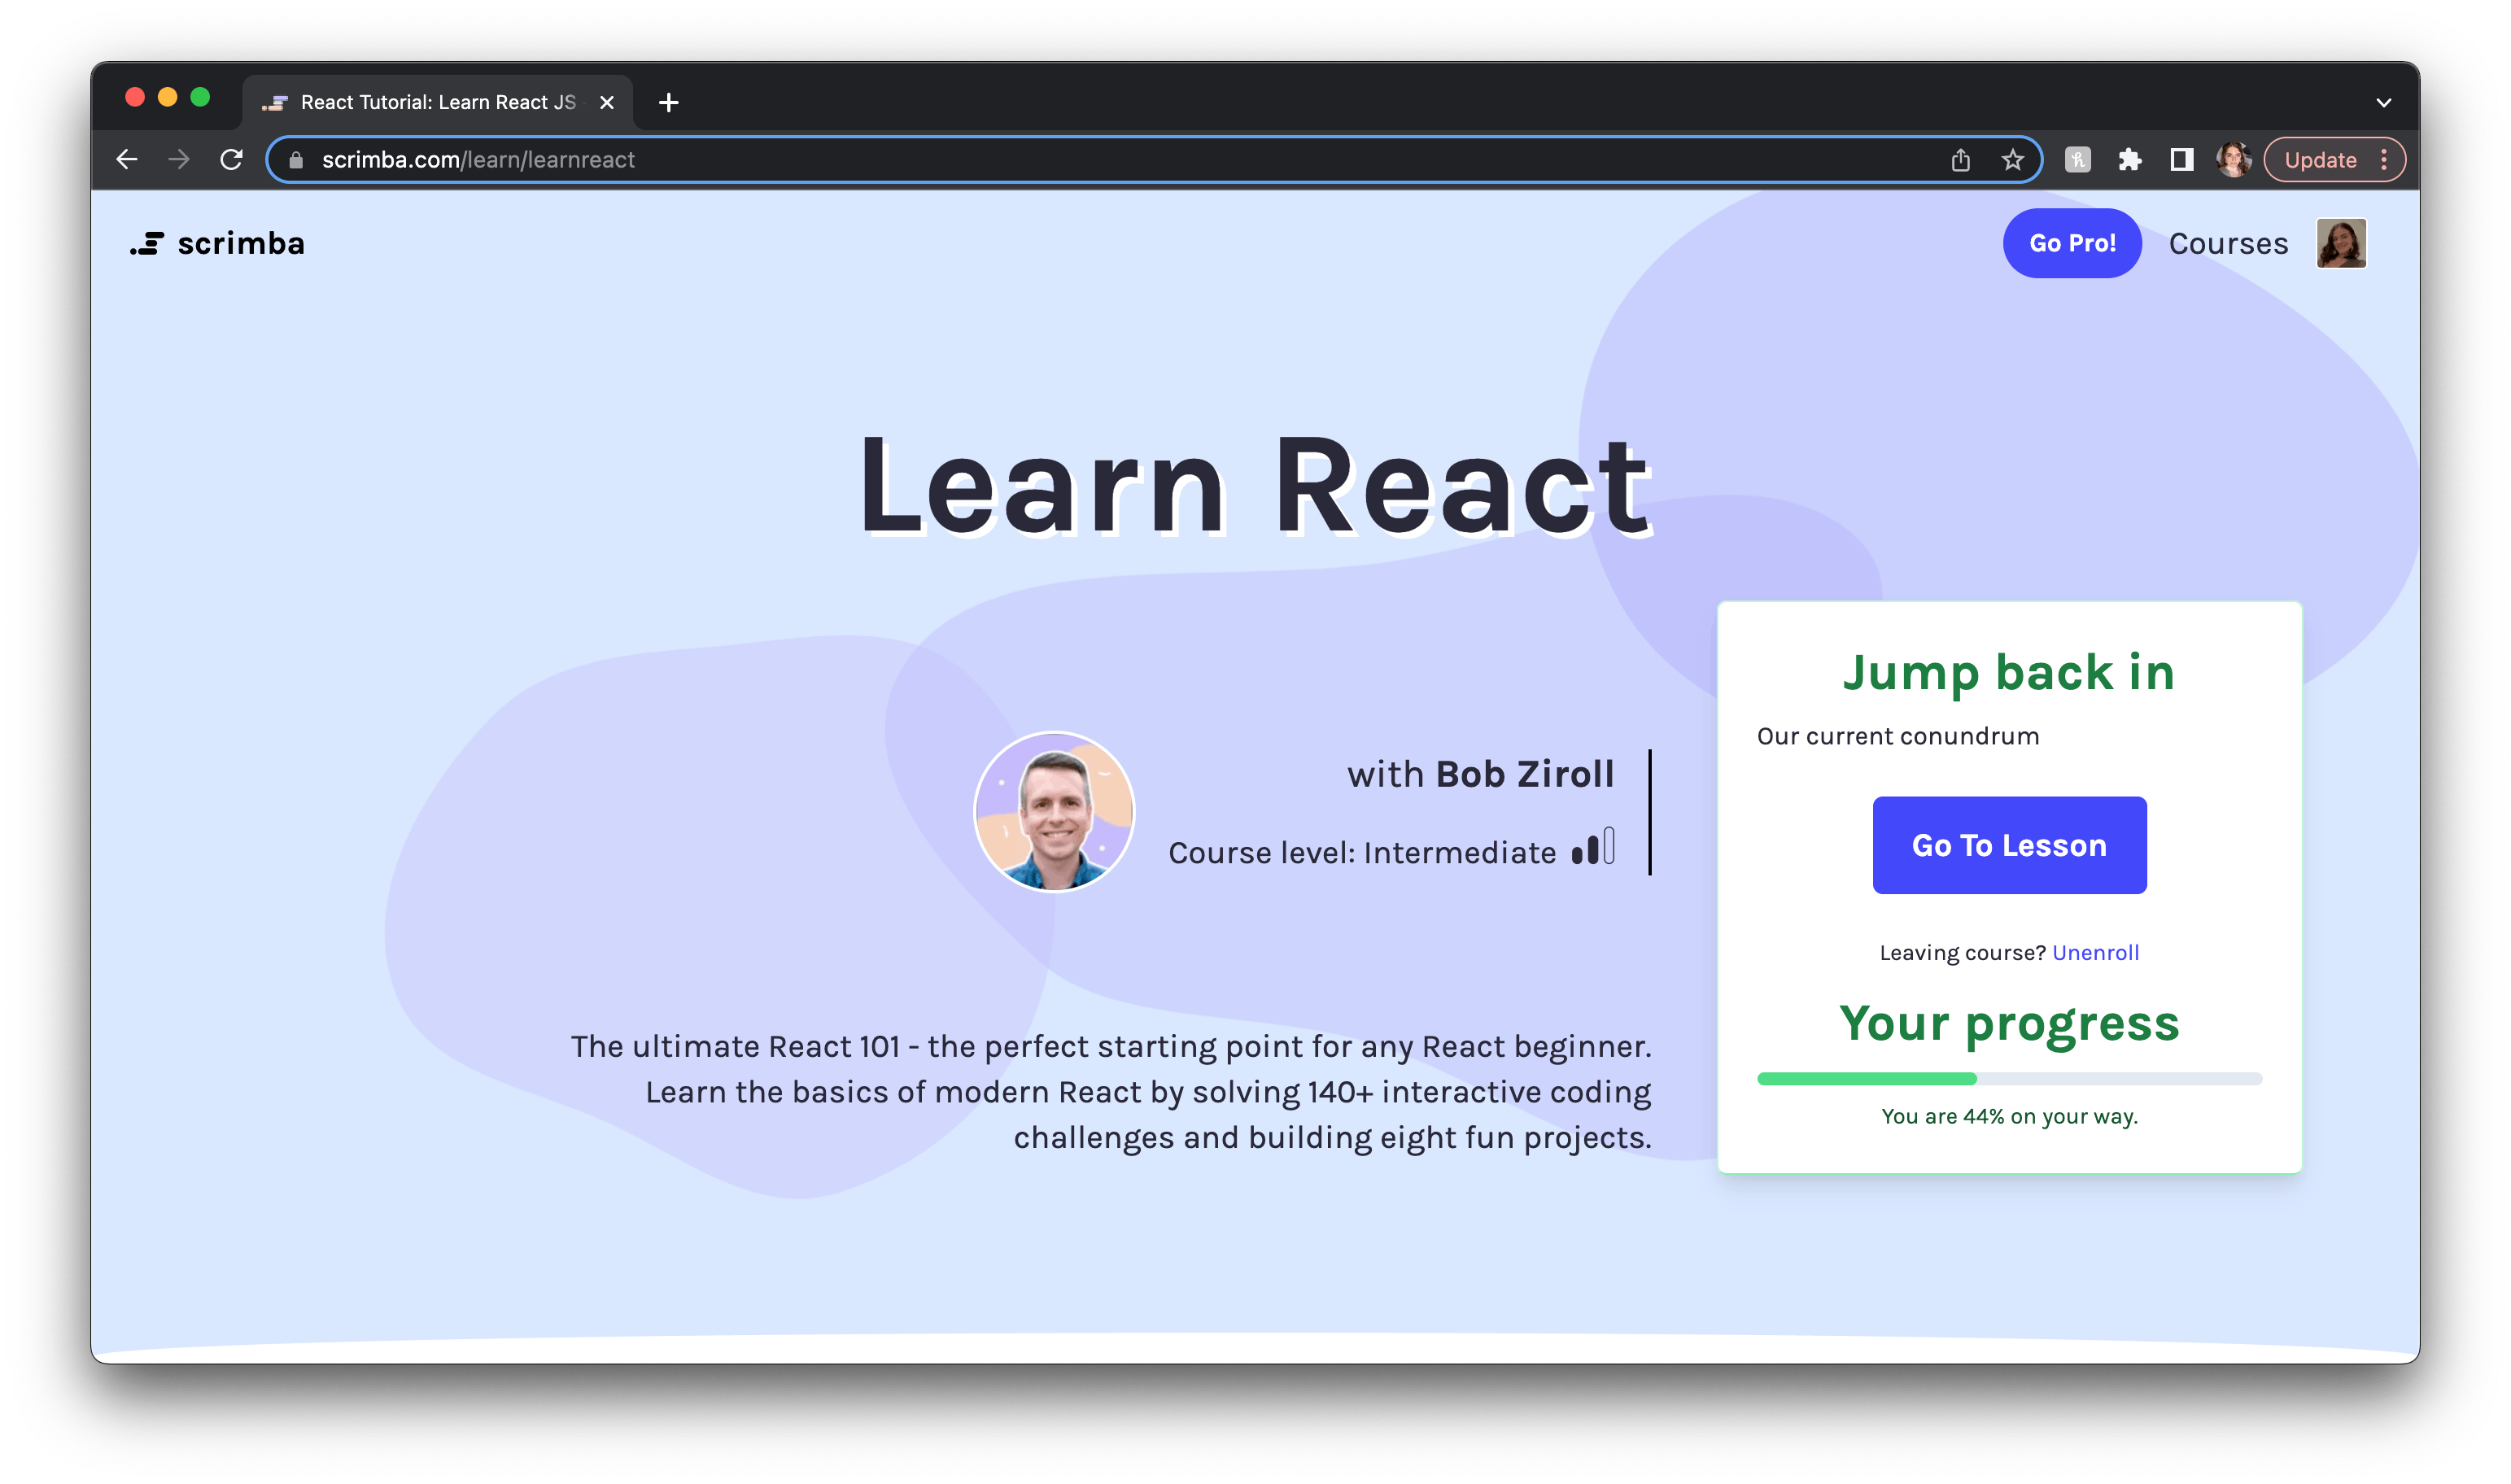
I only got to about 44% in the course before I was able to build static sites with React. Just make sure you understand the file structures, components, and JSX syntax.
Brainstorm
This is a soft skill you need for programming. Identify a problem. Build a solution. It's good to start with a plan. For this project, I suggest picking something you're interested in.
Right now, I want to build a portfolio site. In another example, I built a natural hair care brand site. I'll share both examples here. You can go as deep or as shallow as you want with this design, but I'll provide all my design musts and you make that decision for your project.
Inspiration
You can pull comparable websites to inform your process. For my hair website, I chose Innersense Organics and Dae. I noted the things I liked and the things I didn't.
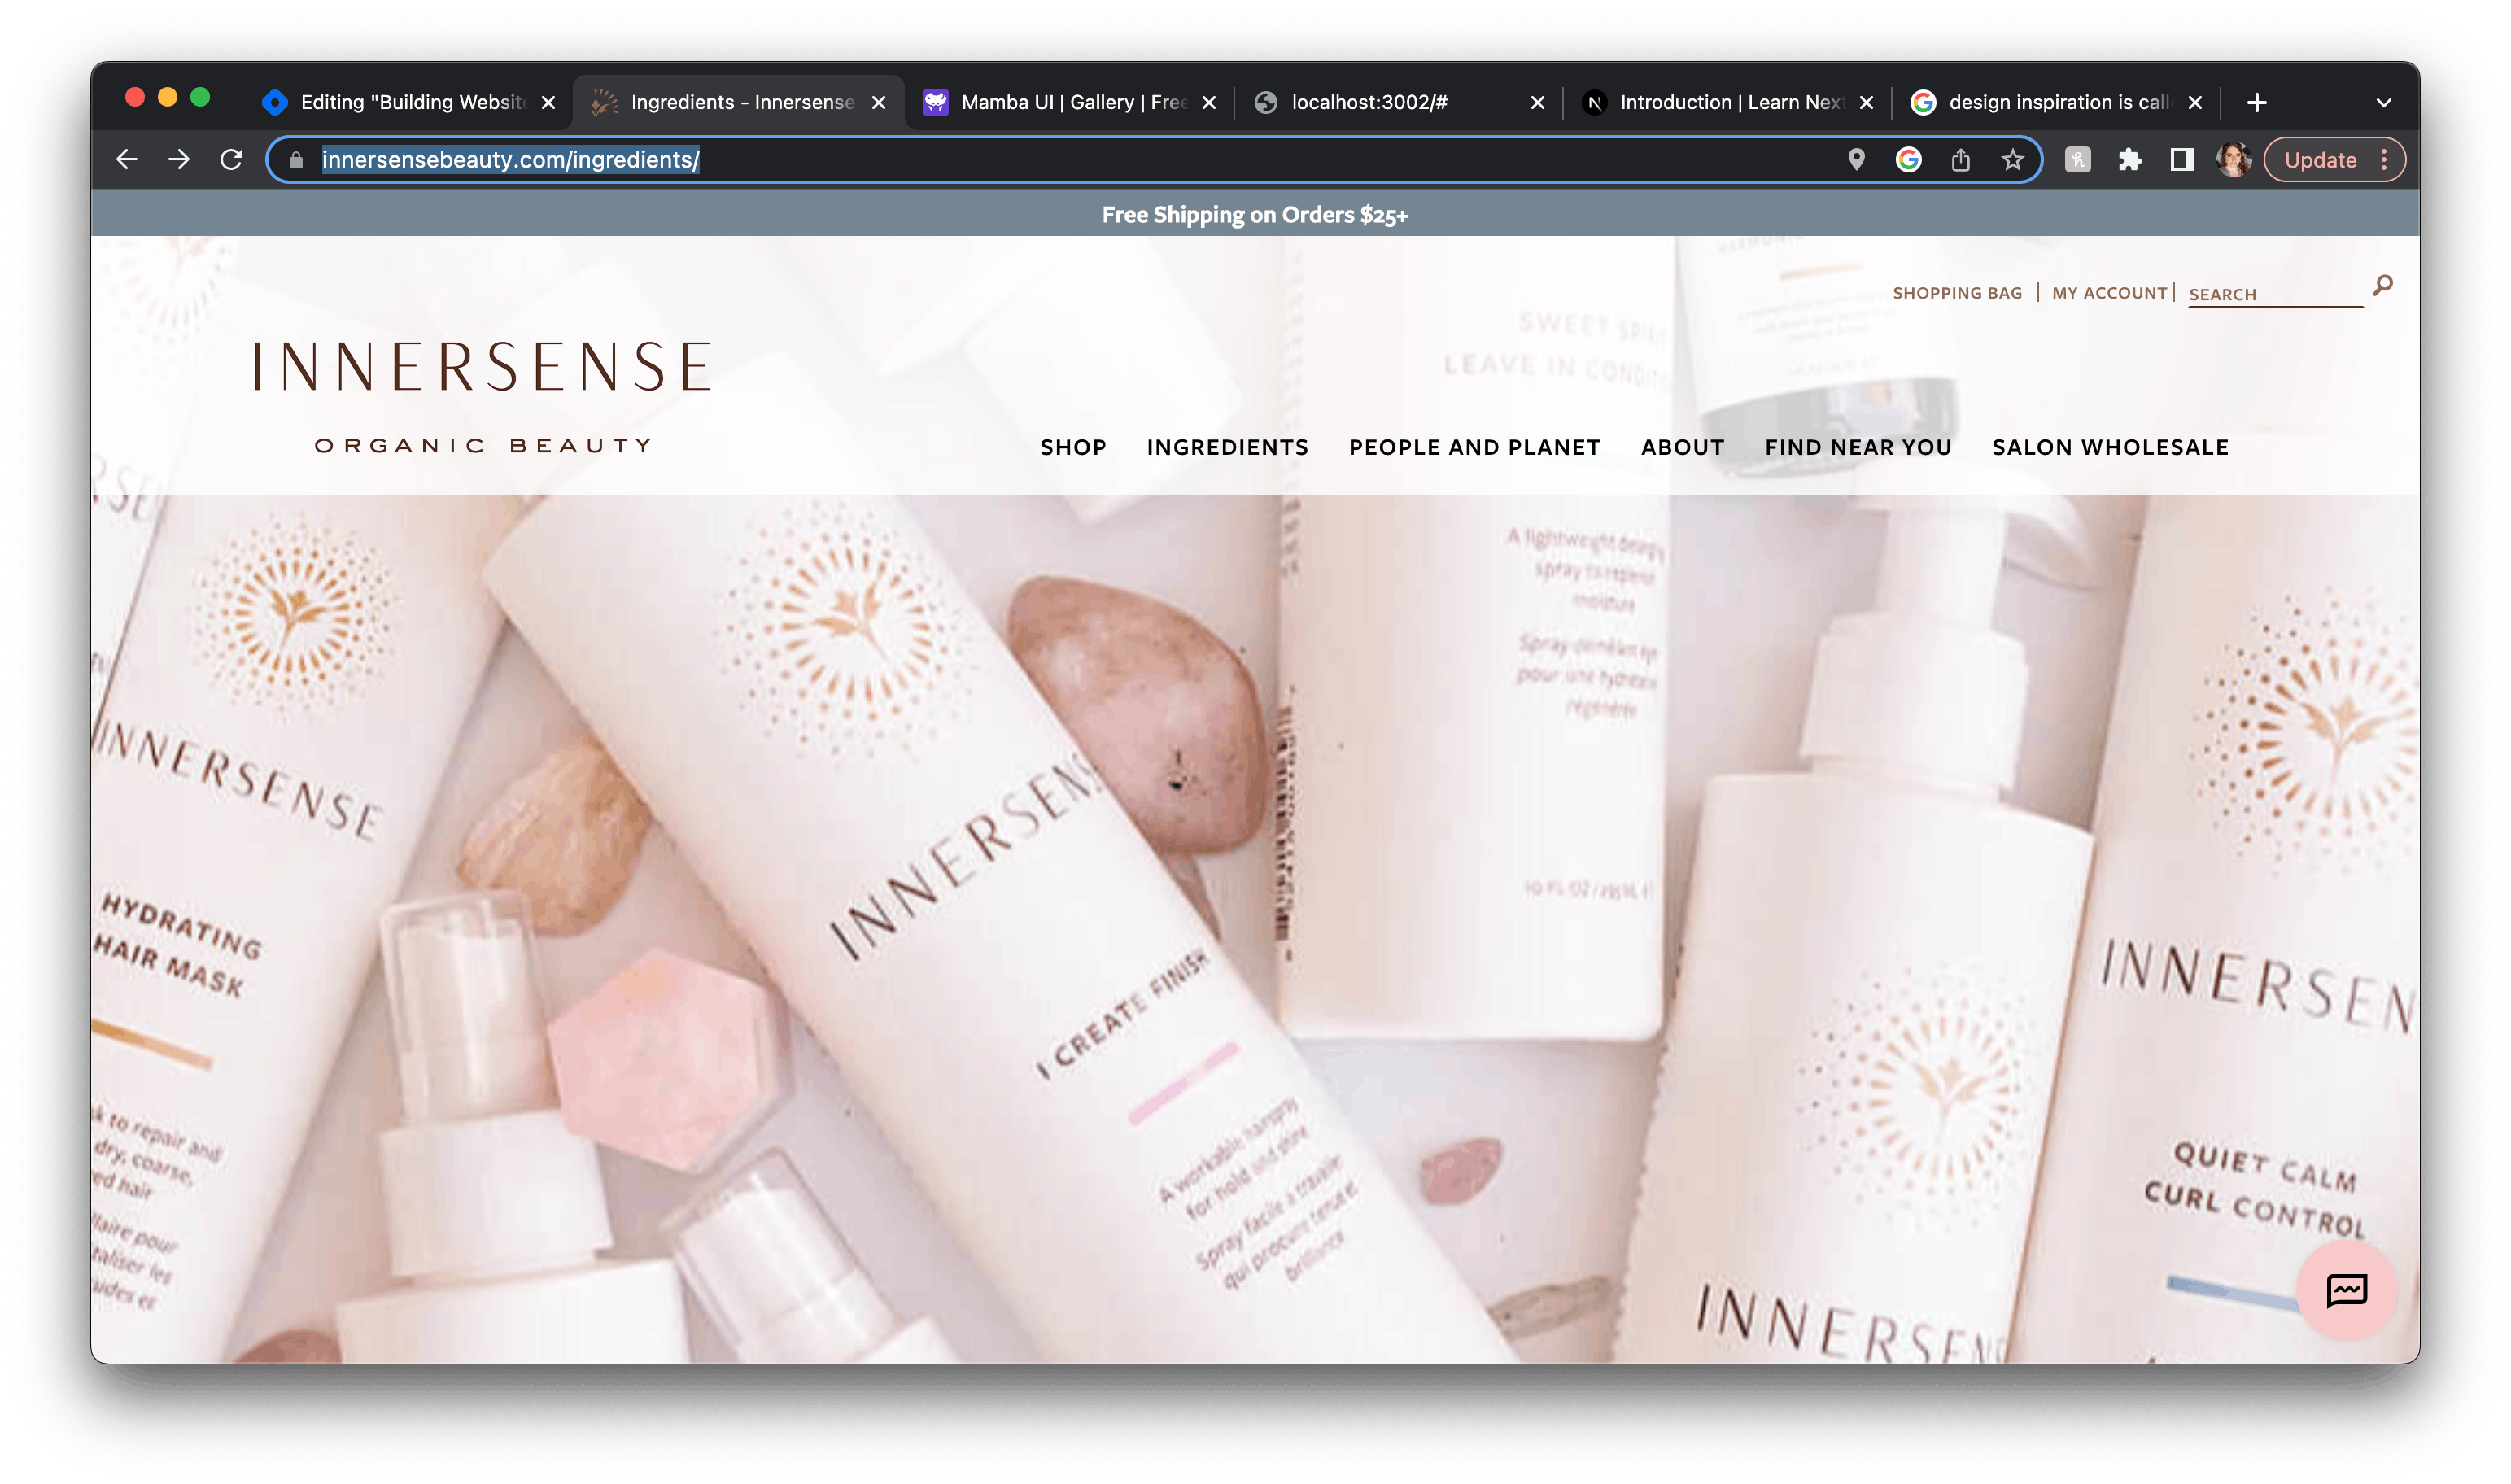
Innersense, beyond the hero image (the main image of the website), is very wordy and dense. Some of the images are pixelated and the website loads slowly. The "shop" button isn't obvious to the user. I do like the elegant and natural design, muted palette, and how you feel the company's mission through the site.

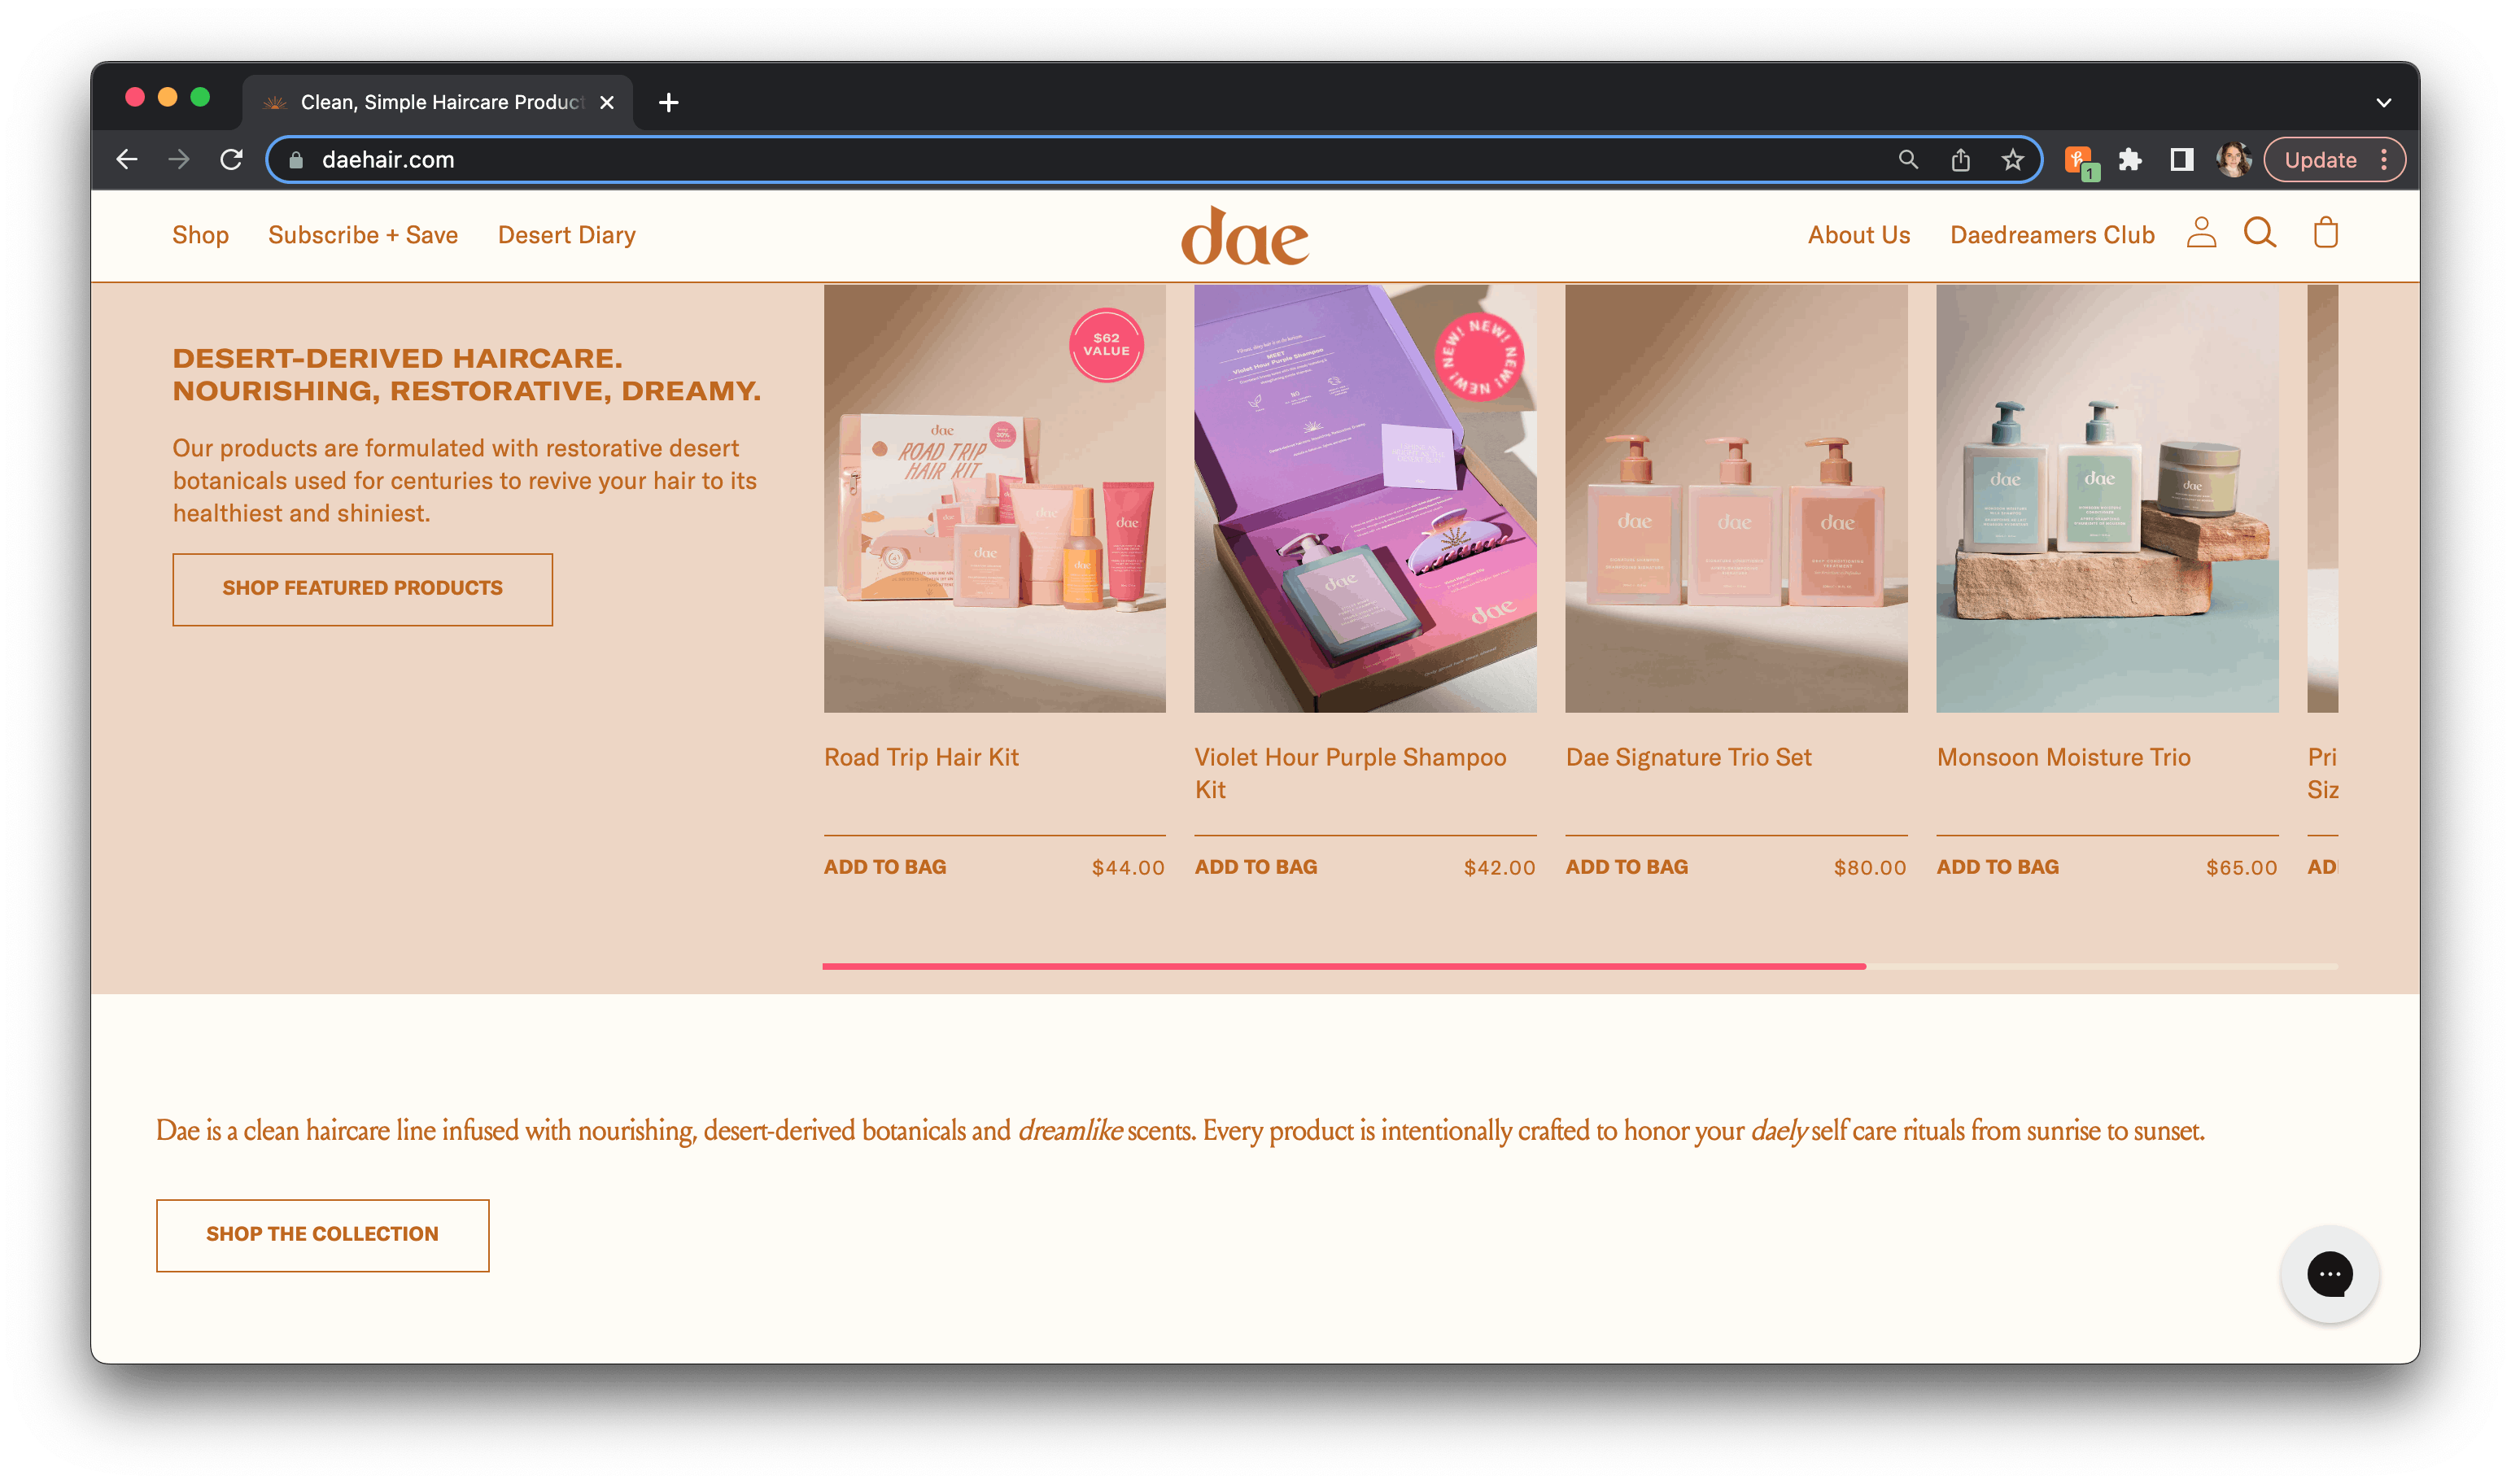
Dae on the other hand has the hero image and then immediately shows the product below. (As an aside, generally, if someone is visiting your website, they already know about the product, so make it easy to reach. You introduce the brand via social media and marketing. No one will stumble along your site in a such massive web space.)
Dae talks about their mission in simple bites, not text walls. The design is intricate and feminine. It shows tons of brand personality.
This post isn't about design, but there are plenty of ways you can get caught up in learning design principles at this stage, and I encourage you to!
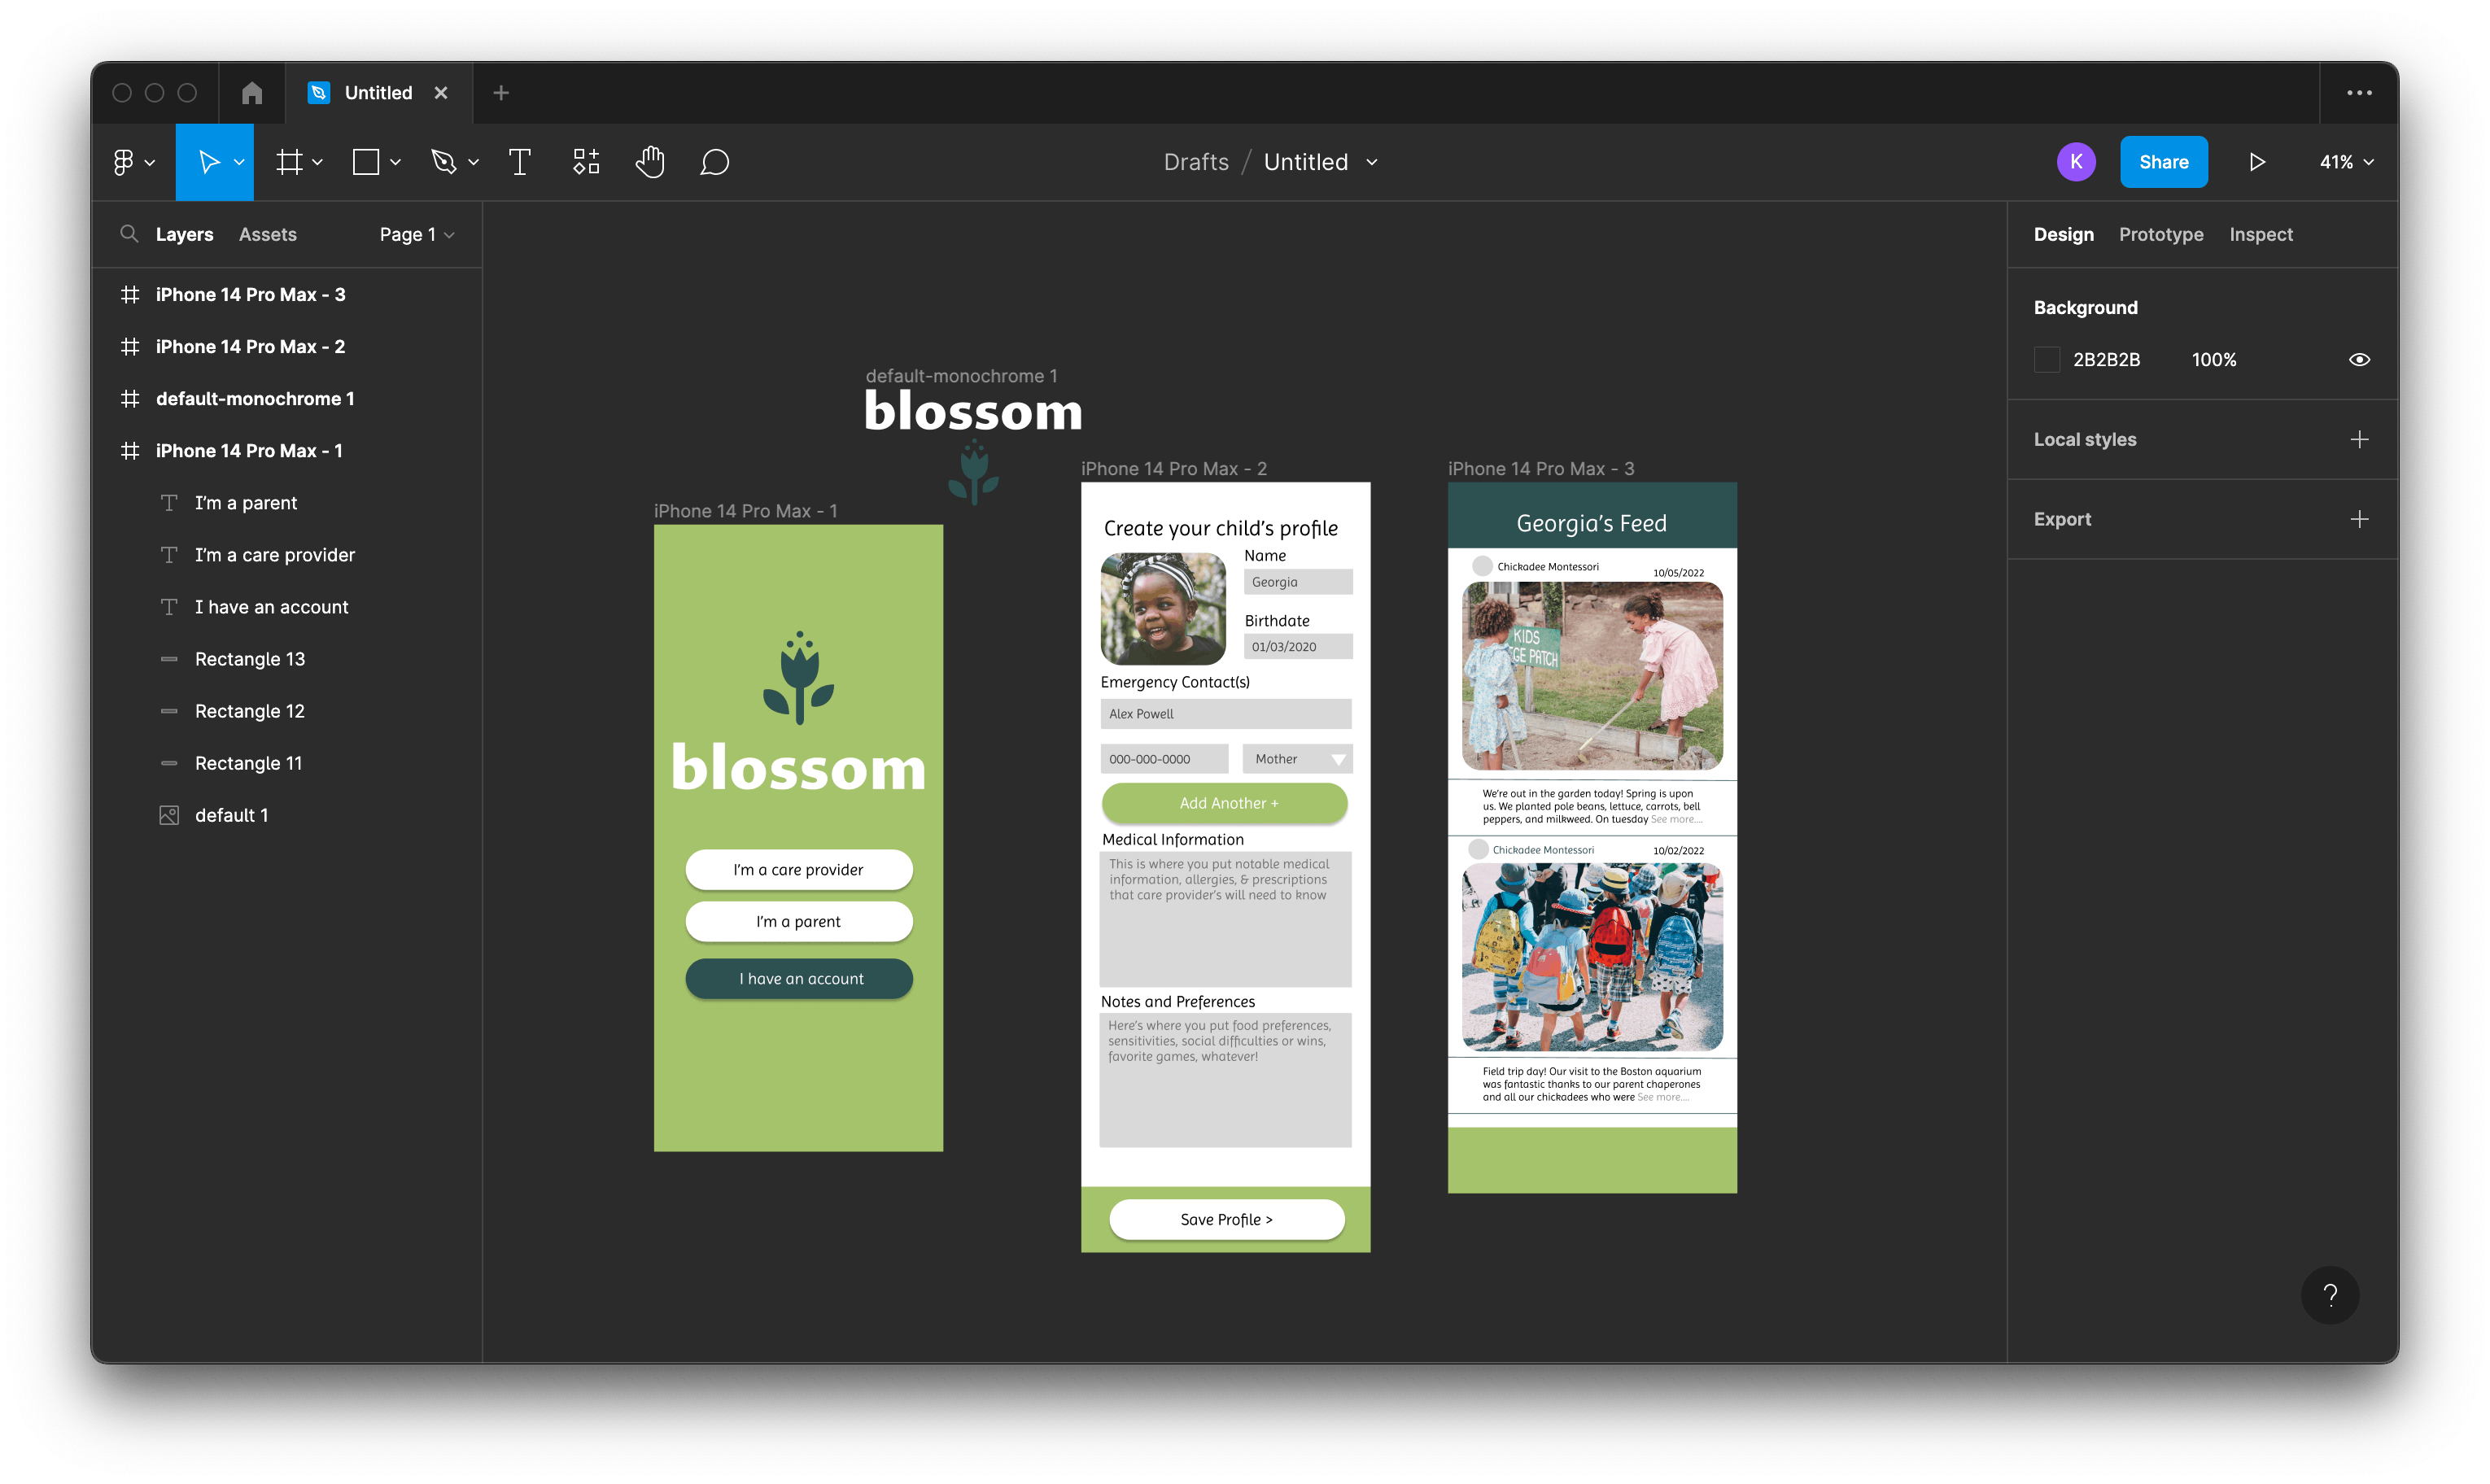
For mock-ups or wireframes (if you really want to, not necessary for our purposes), use Figma.
For color palettes, use Color Hunt or Coolors.
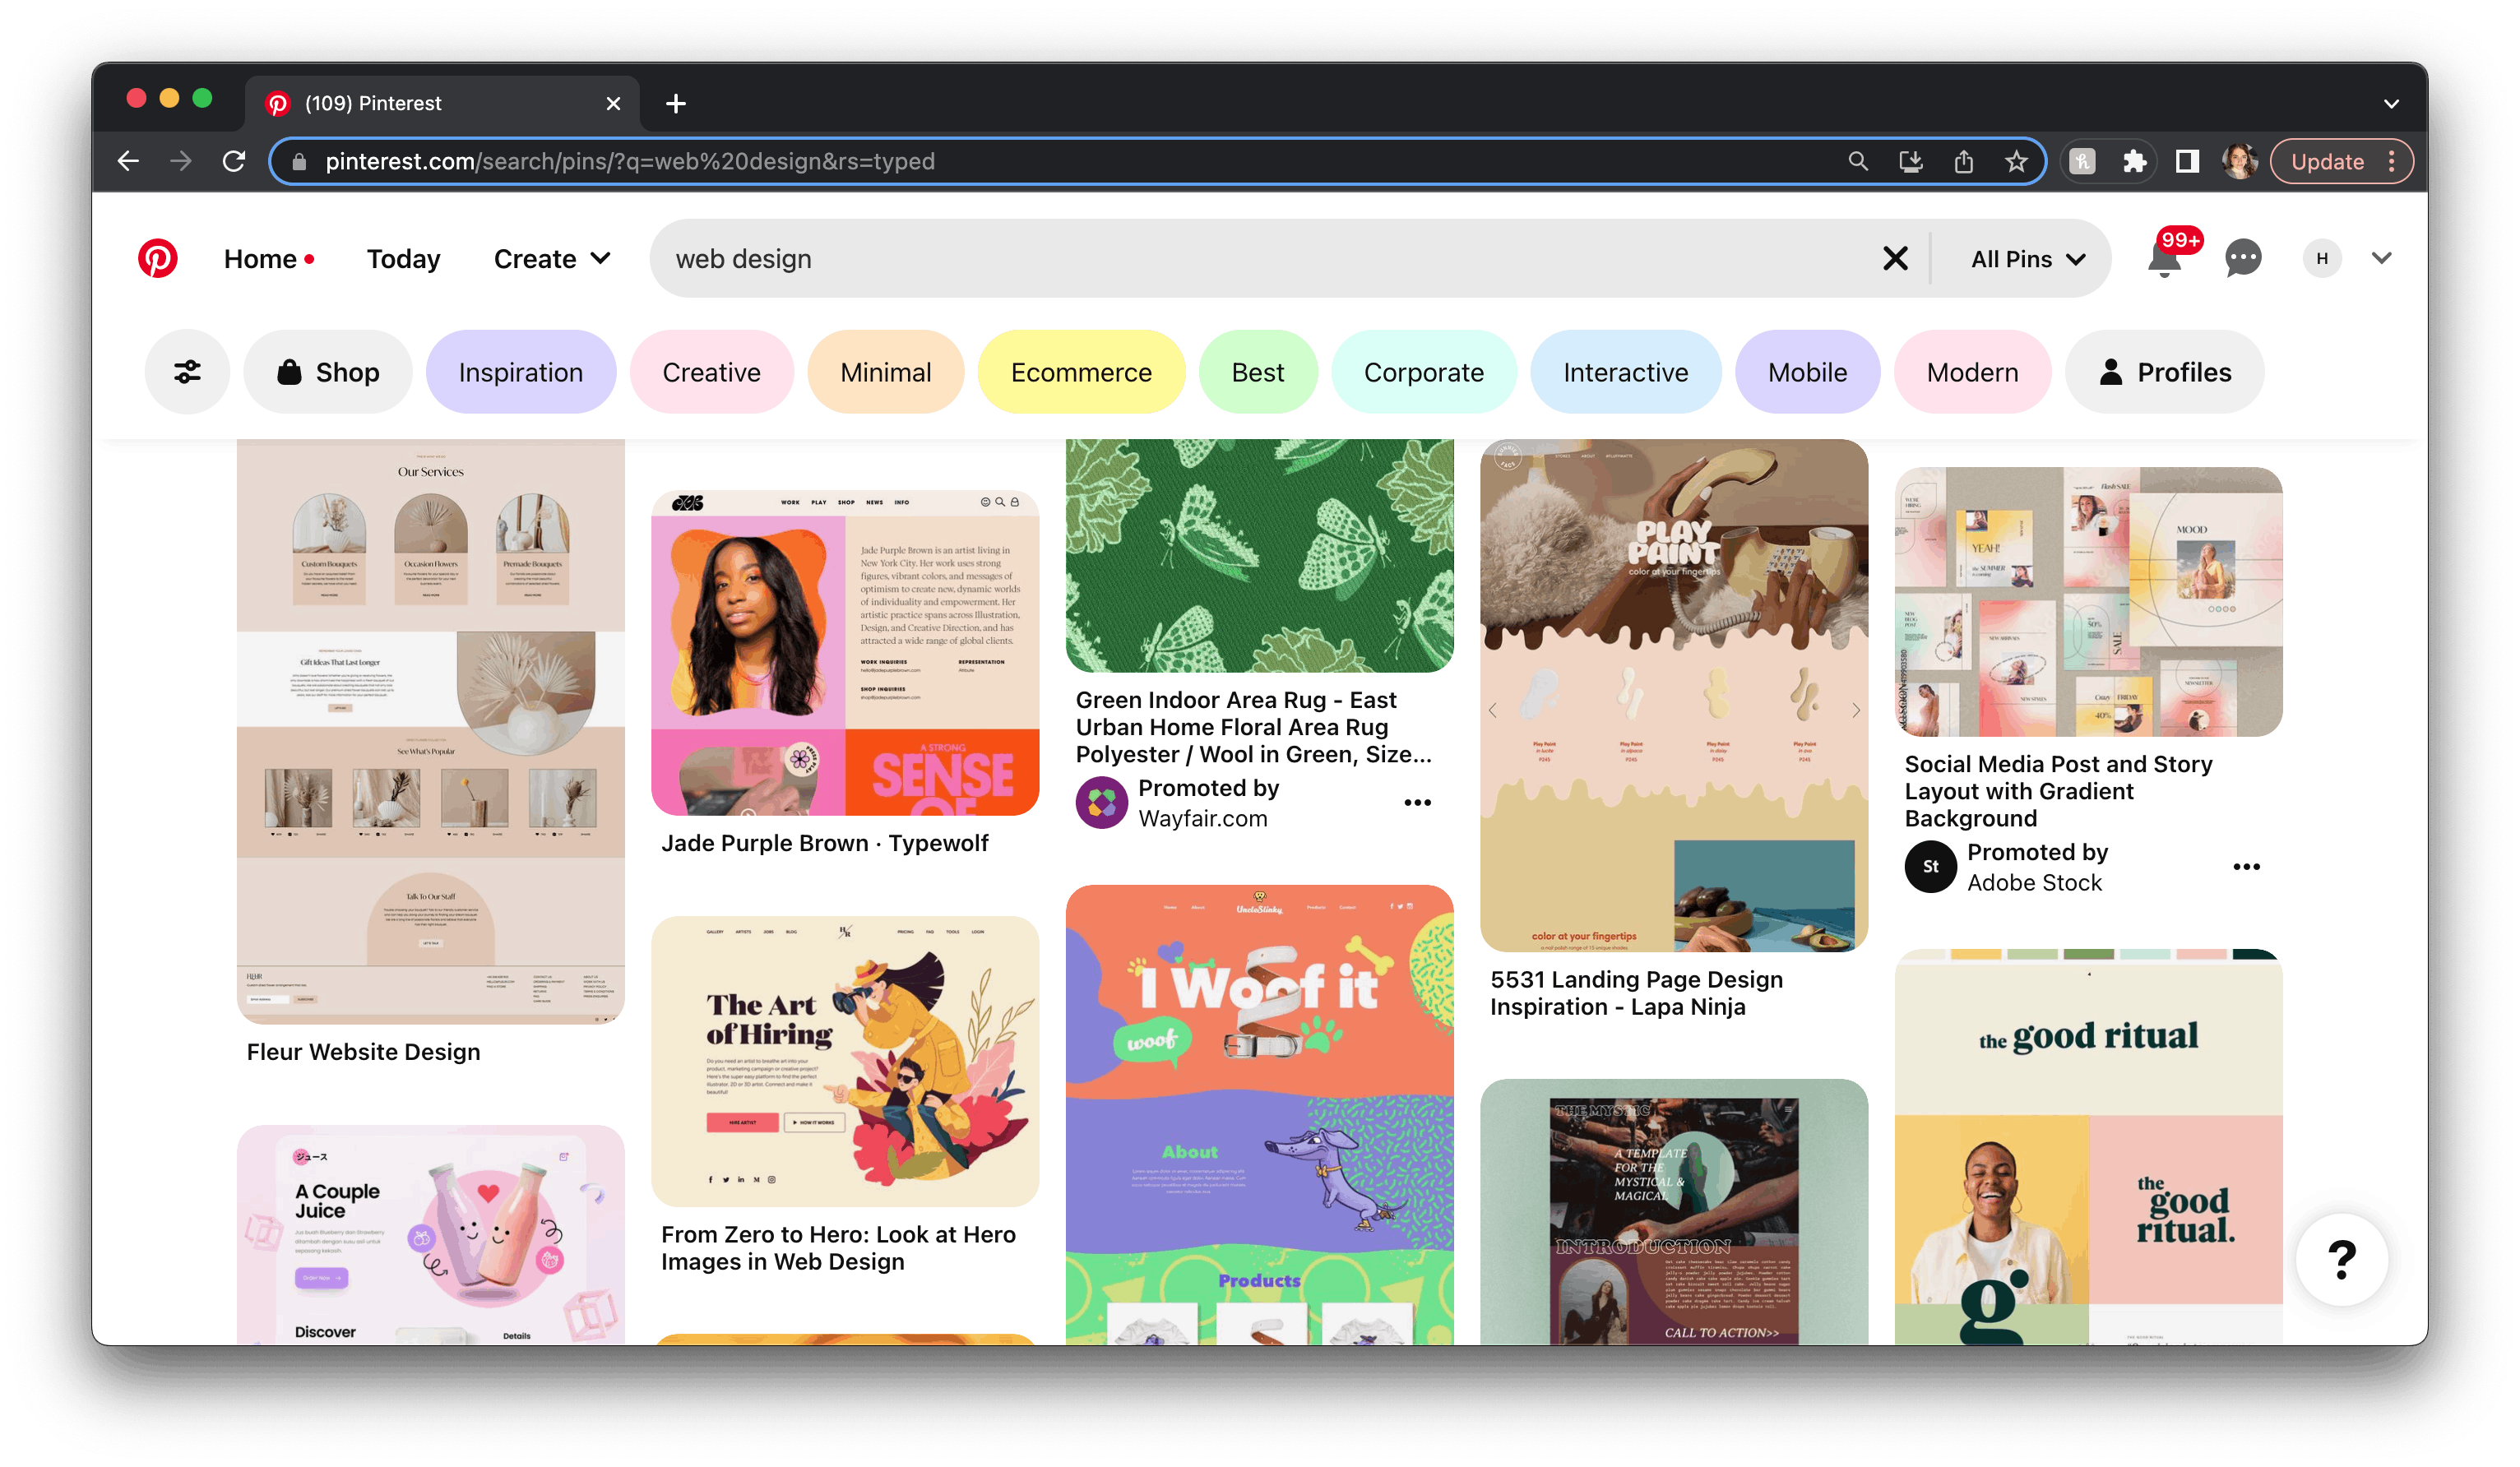
Pinterest also has amazing web design inspiration.
But HEY. If your head is spinning and you have no interest in learning design, I've accounted for you too! We'll be using template components and you will be able to choose the level of depth you want to go with customizing them.
Namecheap has a logo-maker tool that makes it easy to get together a color scheme, custom font, and SVG logo going for your project.
I'll make mine for my portfolio. I'm going for girly, artistic, whimsical but clean.
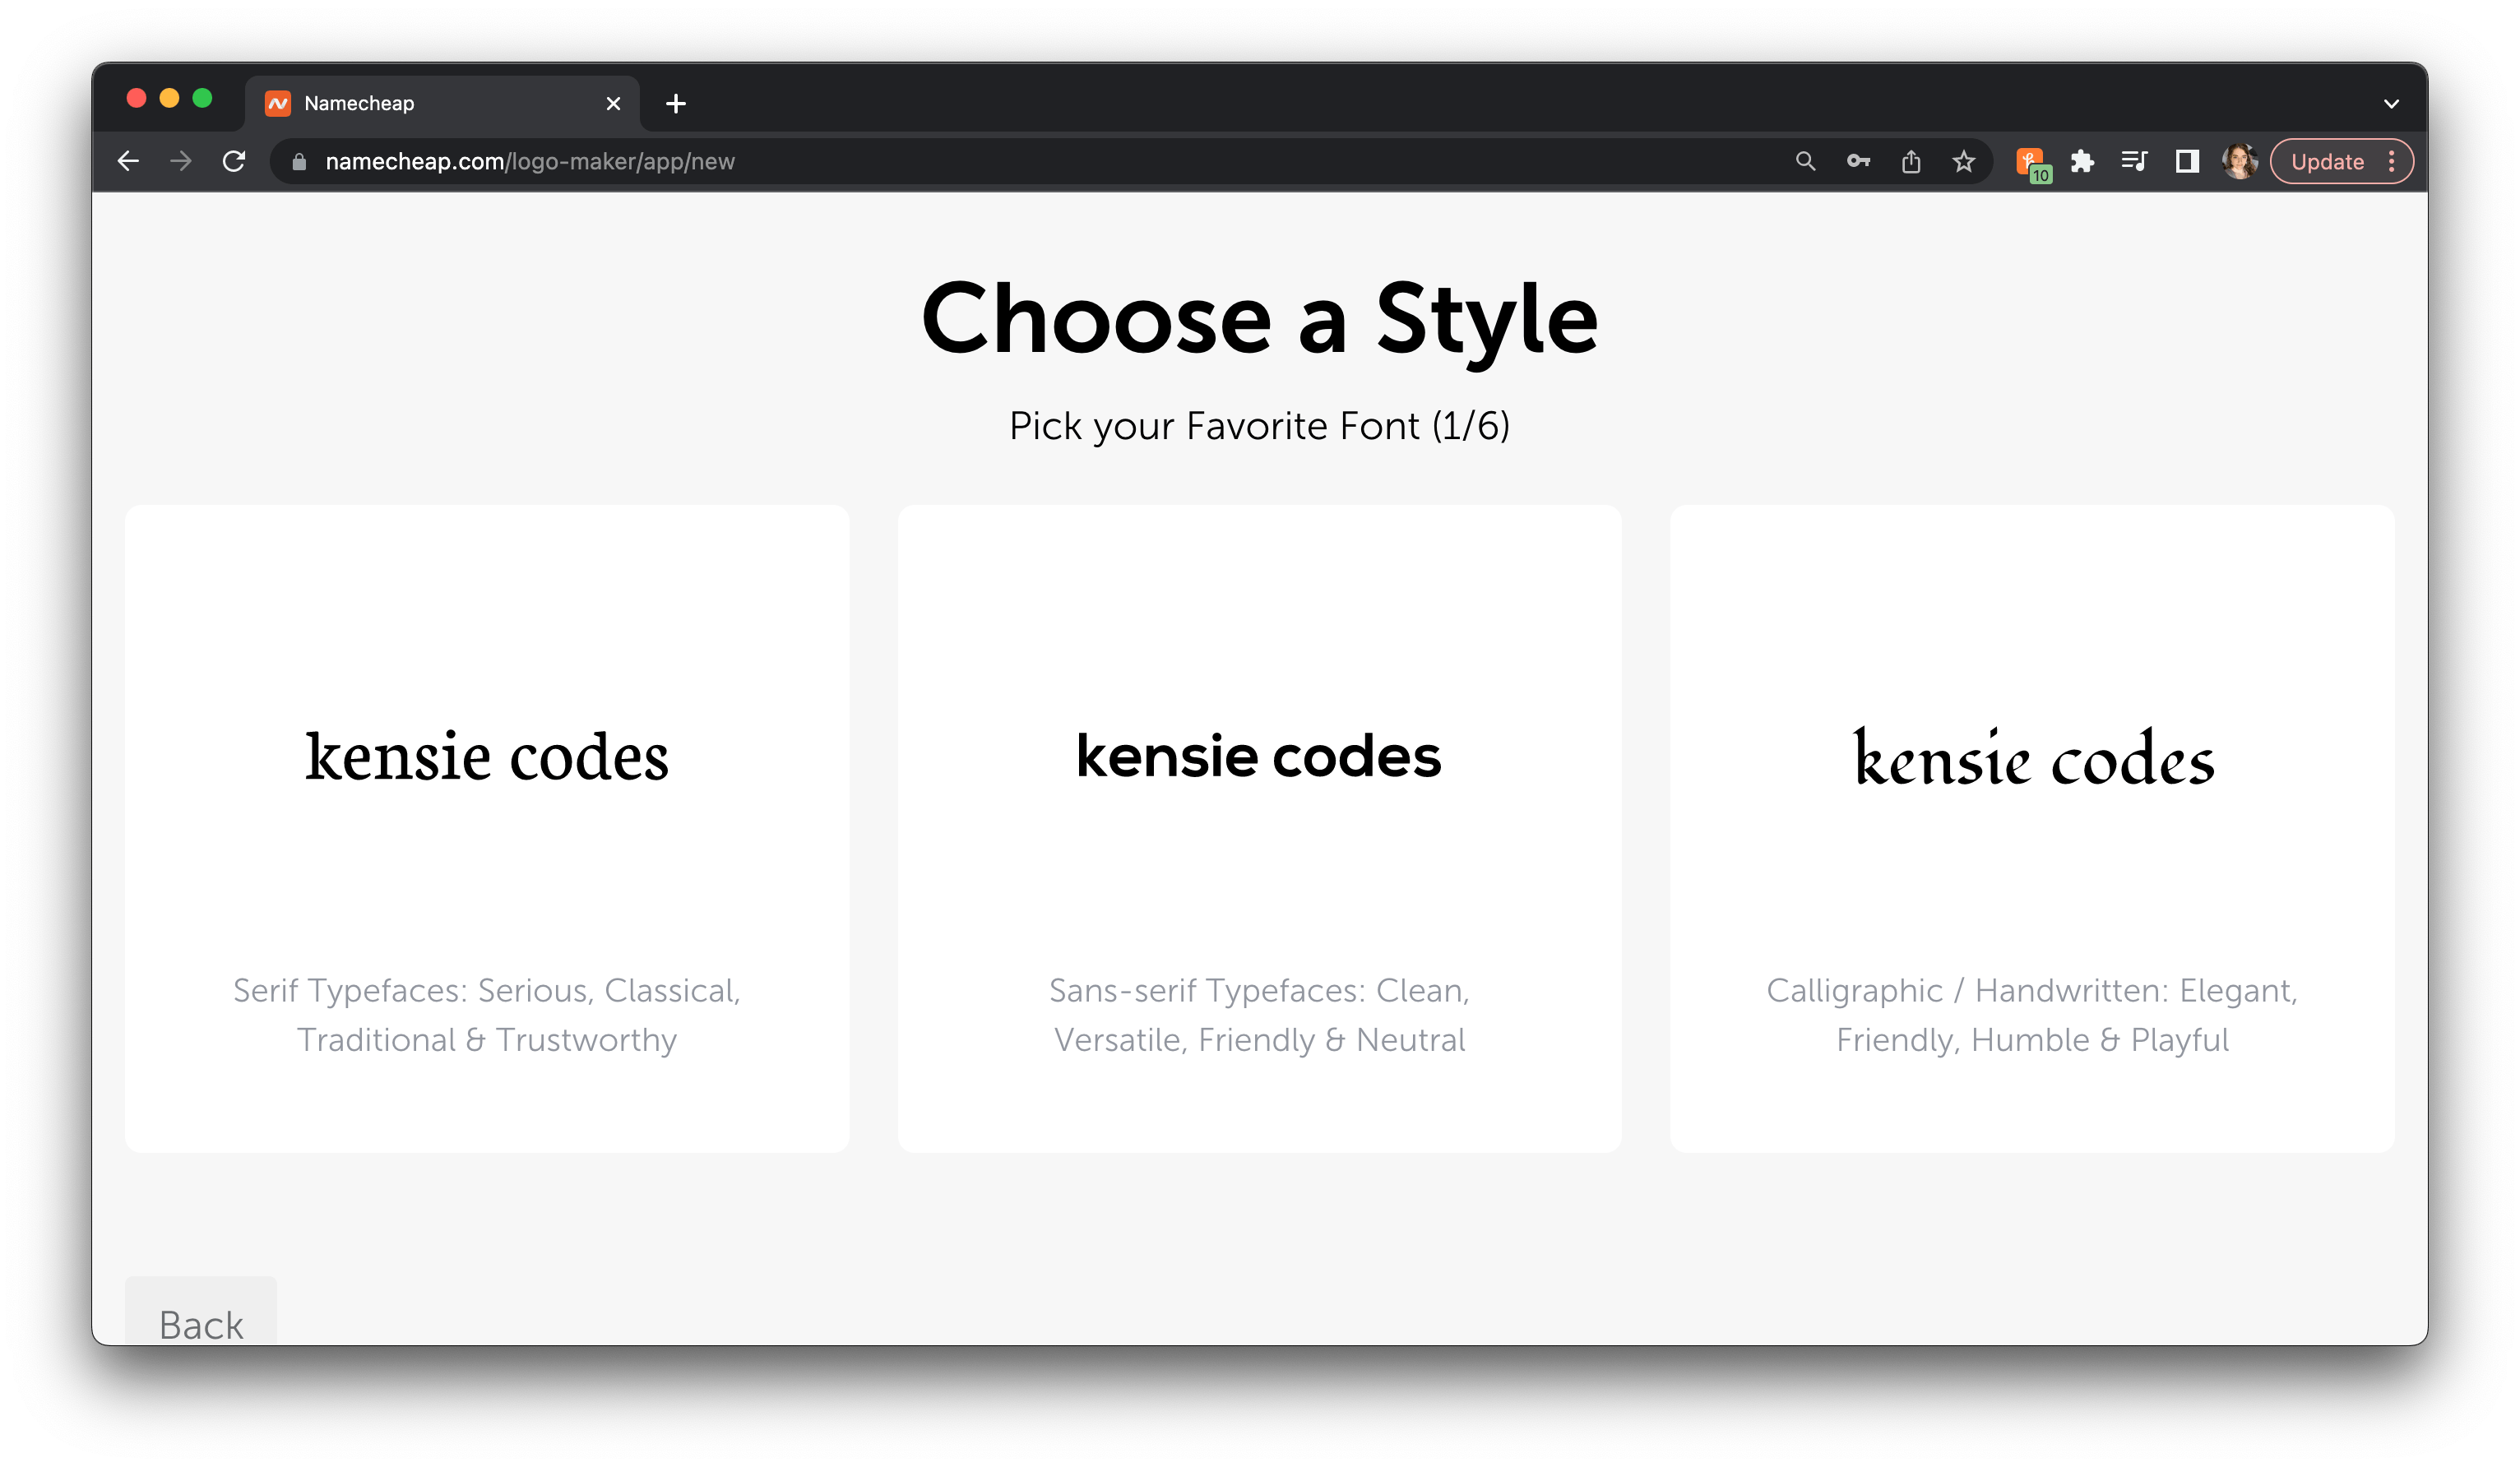
This is Namecheap's interface, but you can also design with Photoshop, or do the font selection, SVG logo, and palette manually.
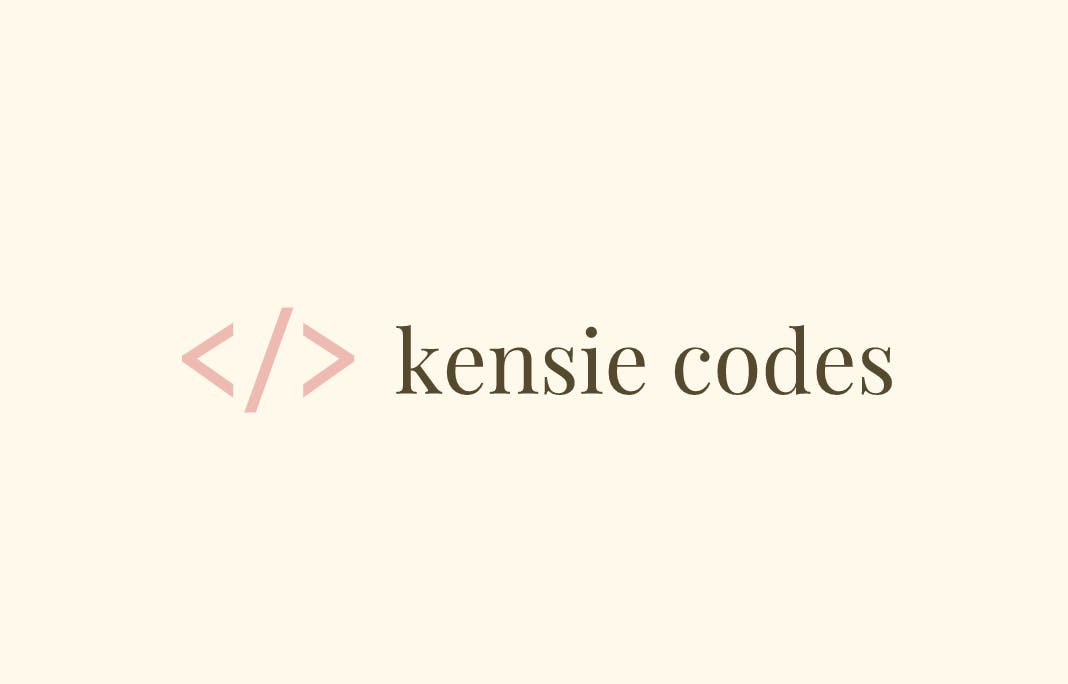
This is the logo I chose! So now I have a palette, font face, logo, and some comparable sites in hand. We'll be using prebuilt components so I won't be making an exact mock-up.
I also want you to gather stock, vector, or SVG images related to your project so you can just plug them in later.
https://illustrationhunt.com/ For free illustrations
https://fontawesome.com/ For free, in-line icons that are stylized (in CSS) like fonts
https://icons8.com/ Free (and paid) icons, illustrations, favicons!
https://unsplash.com/ For high-res stock images
Next.JS
Next is an easy way to boilerplate React apps.
Go to their site and browse their documentation if you aren't familiar. I learned how to use Next thoroughly in about two hours of reading the documentation and playing around with a basic application.
I use this because it's easy, fast, and modular. You can build static, single-page sites, all the way up to massive in-depth apps utilizing Next's features.
You bootstrap Next apps with the terminal command create-next-app . You can read more about this here.
Boilerplate
Bootstrap
create-next-app.Node.js
You can download Node here. I used the Traversy Media NPM video to learn Node but there are simpler ones
You can also use whatever package manager you want, but I'm using Node because that's what I'm familiar with.
Package Manager
Let's get into the code.
In terminal, initialize your Next app using Node or your package manager of choice. (Pst... npx is for Node).
npx create-next-app@latest
# or
yarn create next-app
# or
pnpm create next-app
Follow the steps, entering the project's name. Feel free to use the default settings as they come (no to Typescript and ES Lint, yes to TailwindCSS). Next then installs all your dependencies for Next apps, React, and Tailwind.
You'll notice a bunch of new files in the file explorer.
Ensure you're in the app's directory (what you named the app) and use this script.
npm run dev
Next automatically runs itself on localhost:3000. Type that address into your browser to view the app. If it has to run at a different address, usually 3001 or 3002, it will say in the terminal and update automatically.
You'll see this:

We'll heed the tooltip: "Get started by editing pages/index.js"
This file (pages/index.js) is where all of our components will go. I'm just going to throw you into it.
Delete the entire block of code inside the return of the Home function.
Delete the imports too. You should be left with this:
export default function Home() {
    return ()
}
You can add whatever you want here (if you follow JSX syntax. Remember, elements must always be wrapped in one parent element.)
Were going to use Mamba UI for our components. So, you know how you've spent dozens of hours learning the skills you needed to get here? And remember struggling through HTML/CSS? Yeah. This will be the fastest website you've ever built.
We're going to use the awesome, FREE Mamba UI library here.
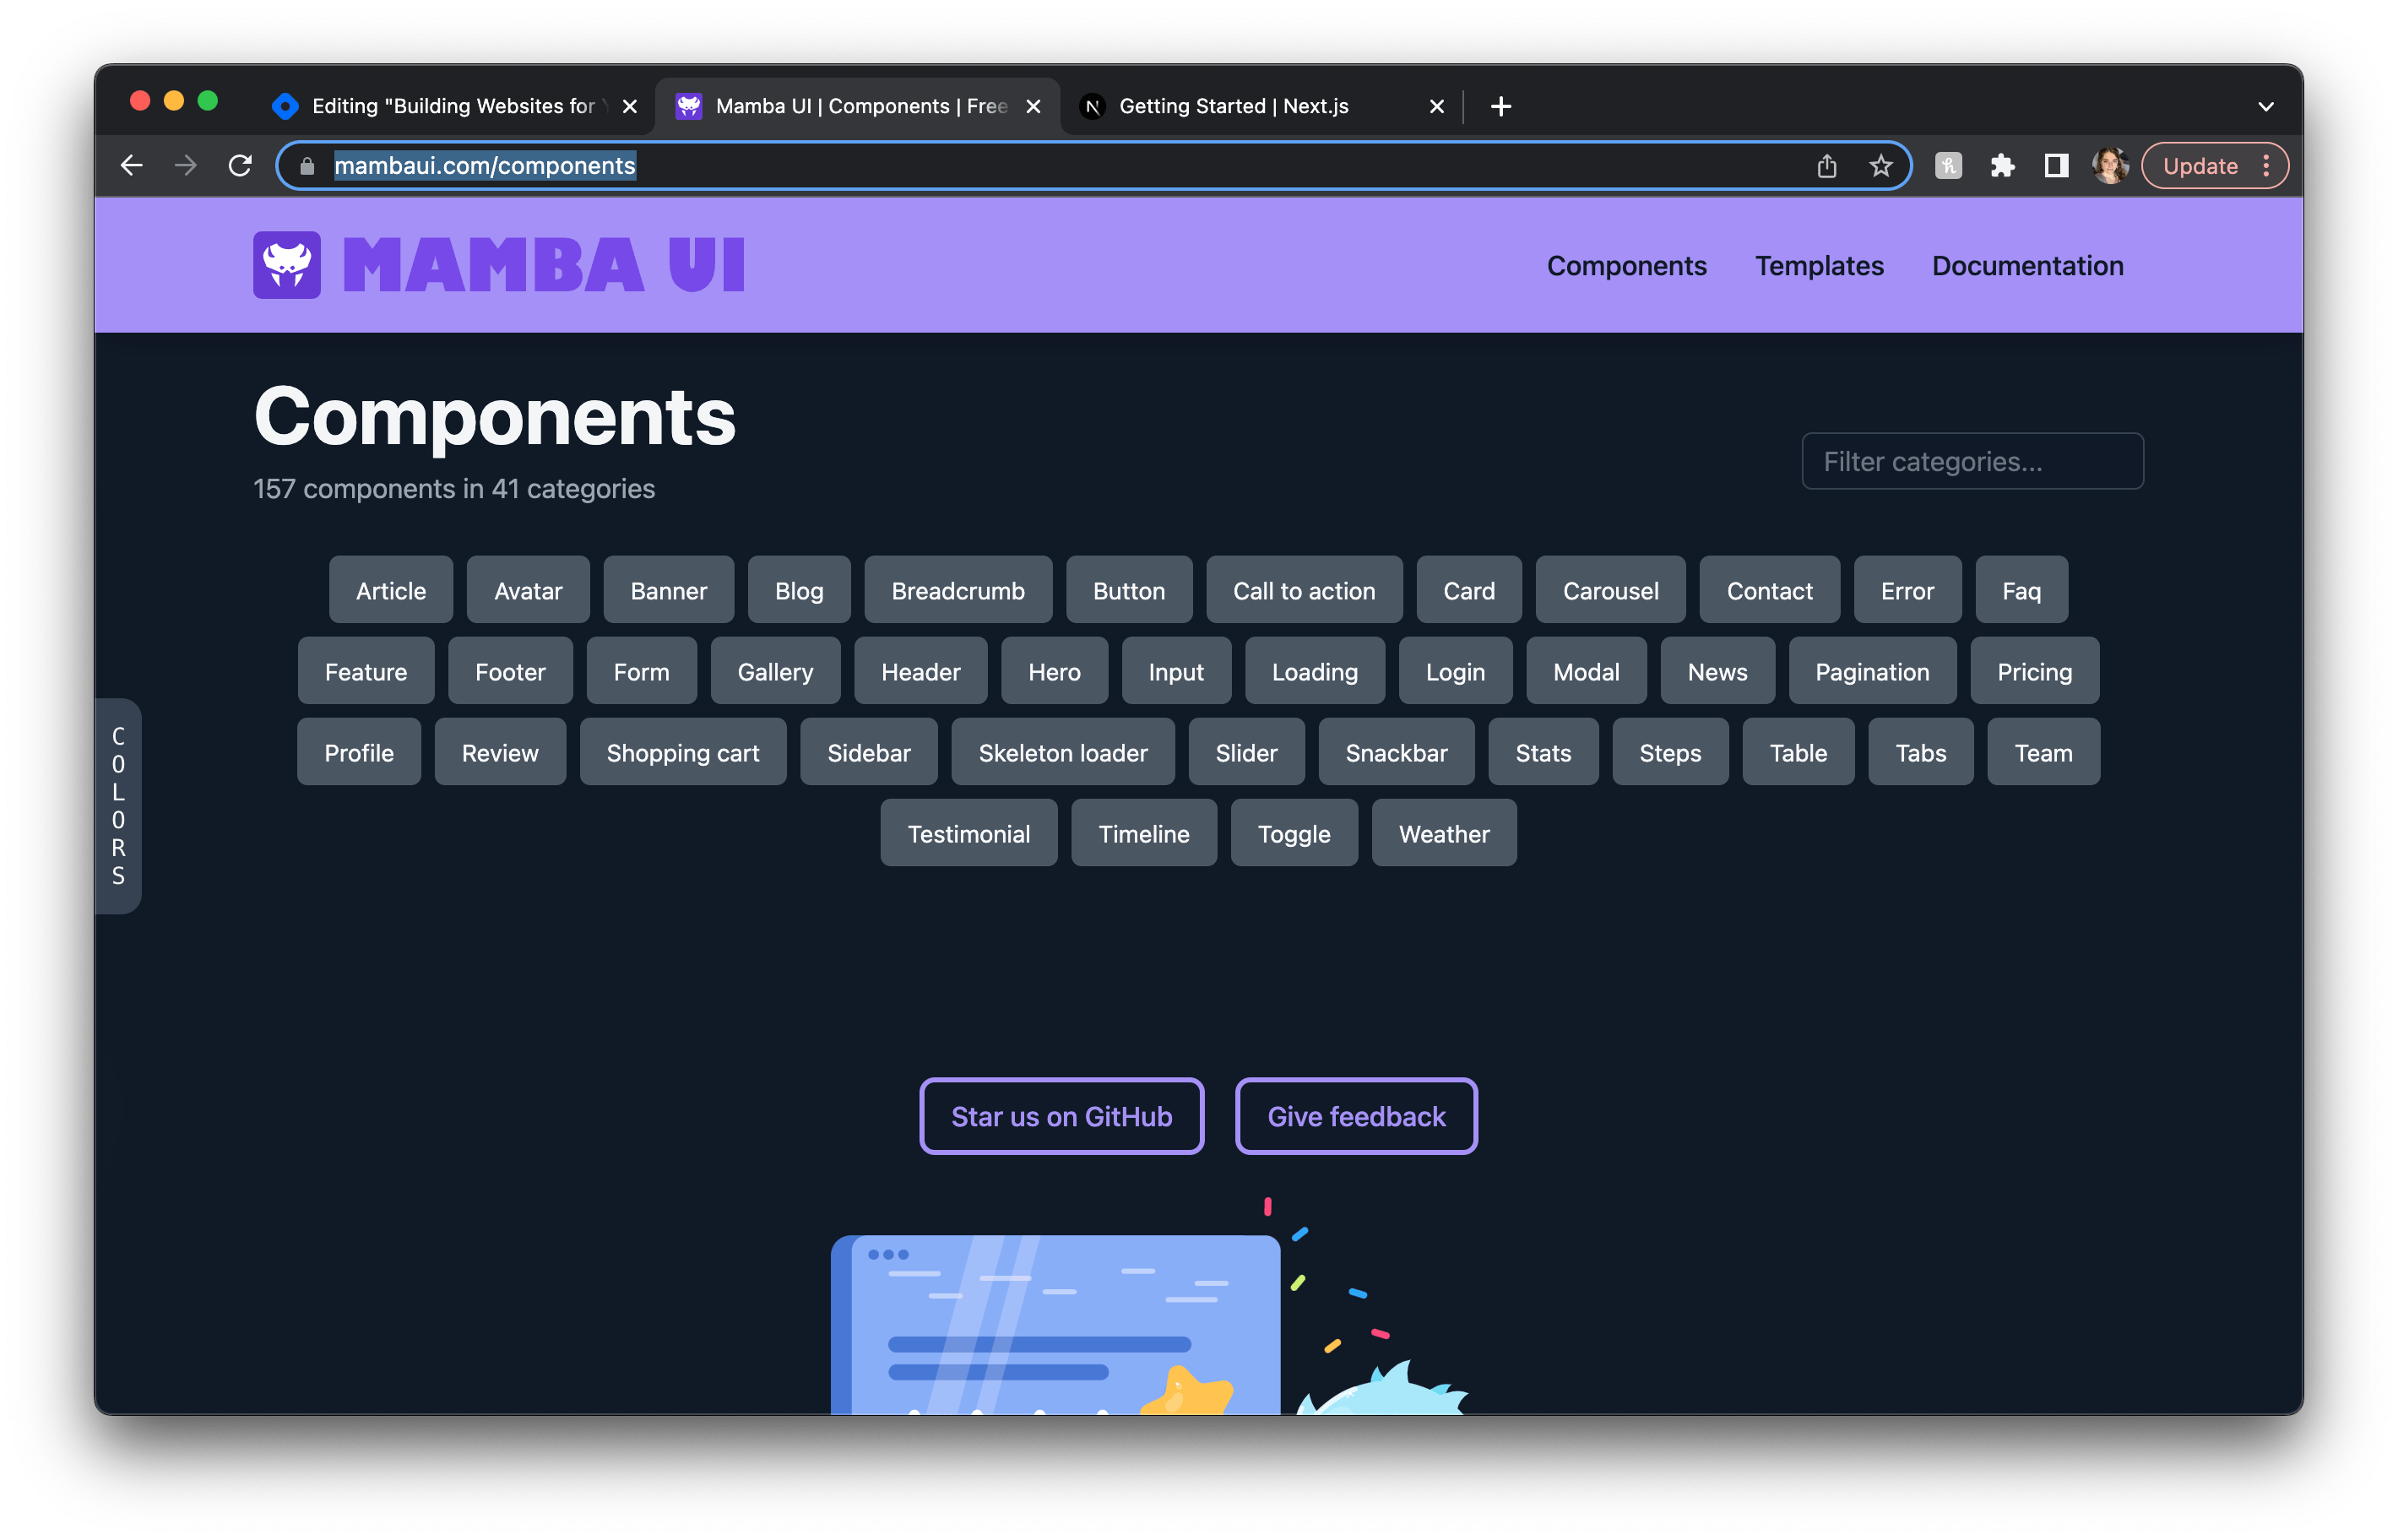
I promise there is something in this library that can be turned into whatever you're envisioning. Think of them like little website Lego bricks that we're going to stack. And they are already formatted for React and Tailwind (yeah, seriously!).
The little "COLORS" flag on the left side will allow you to pre-configure each component to be a specific scheme for the basic Tailwind colors, both light and dark modes. I'm doing light mode and indigo for my portfolio, but I will be changing it later. (I chose custom colors for the hair website using Tailwind's config file. Check the docs for more info).
I'm going to start with a Nav component. Find the component you like and copy the JSX formatted code.
In your pages folder, create a new folder called components.

Go ahead and empty your global.css file of all rulesets, leaving the three Tailwind imports. This will allow the classNames in your new component to be the only styles.
In your components folder, create a new file that identifies your component well. I'm going to make a "Nav.js" file. Then, I'll paste the selected JSX code from MambaUI into that file in the full syntax of React (export default function....) as below.
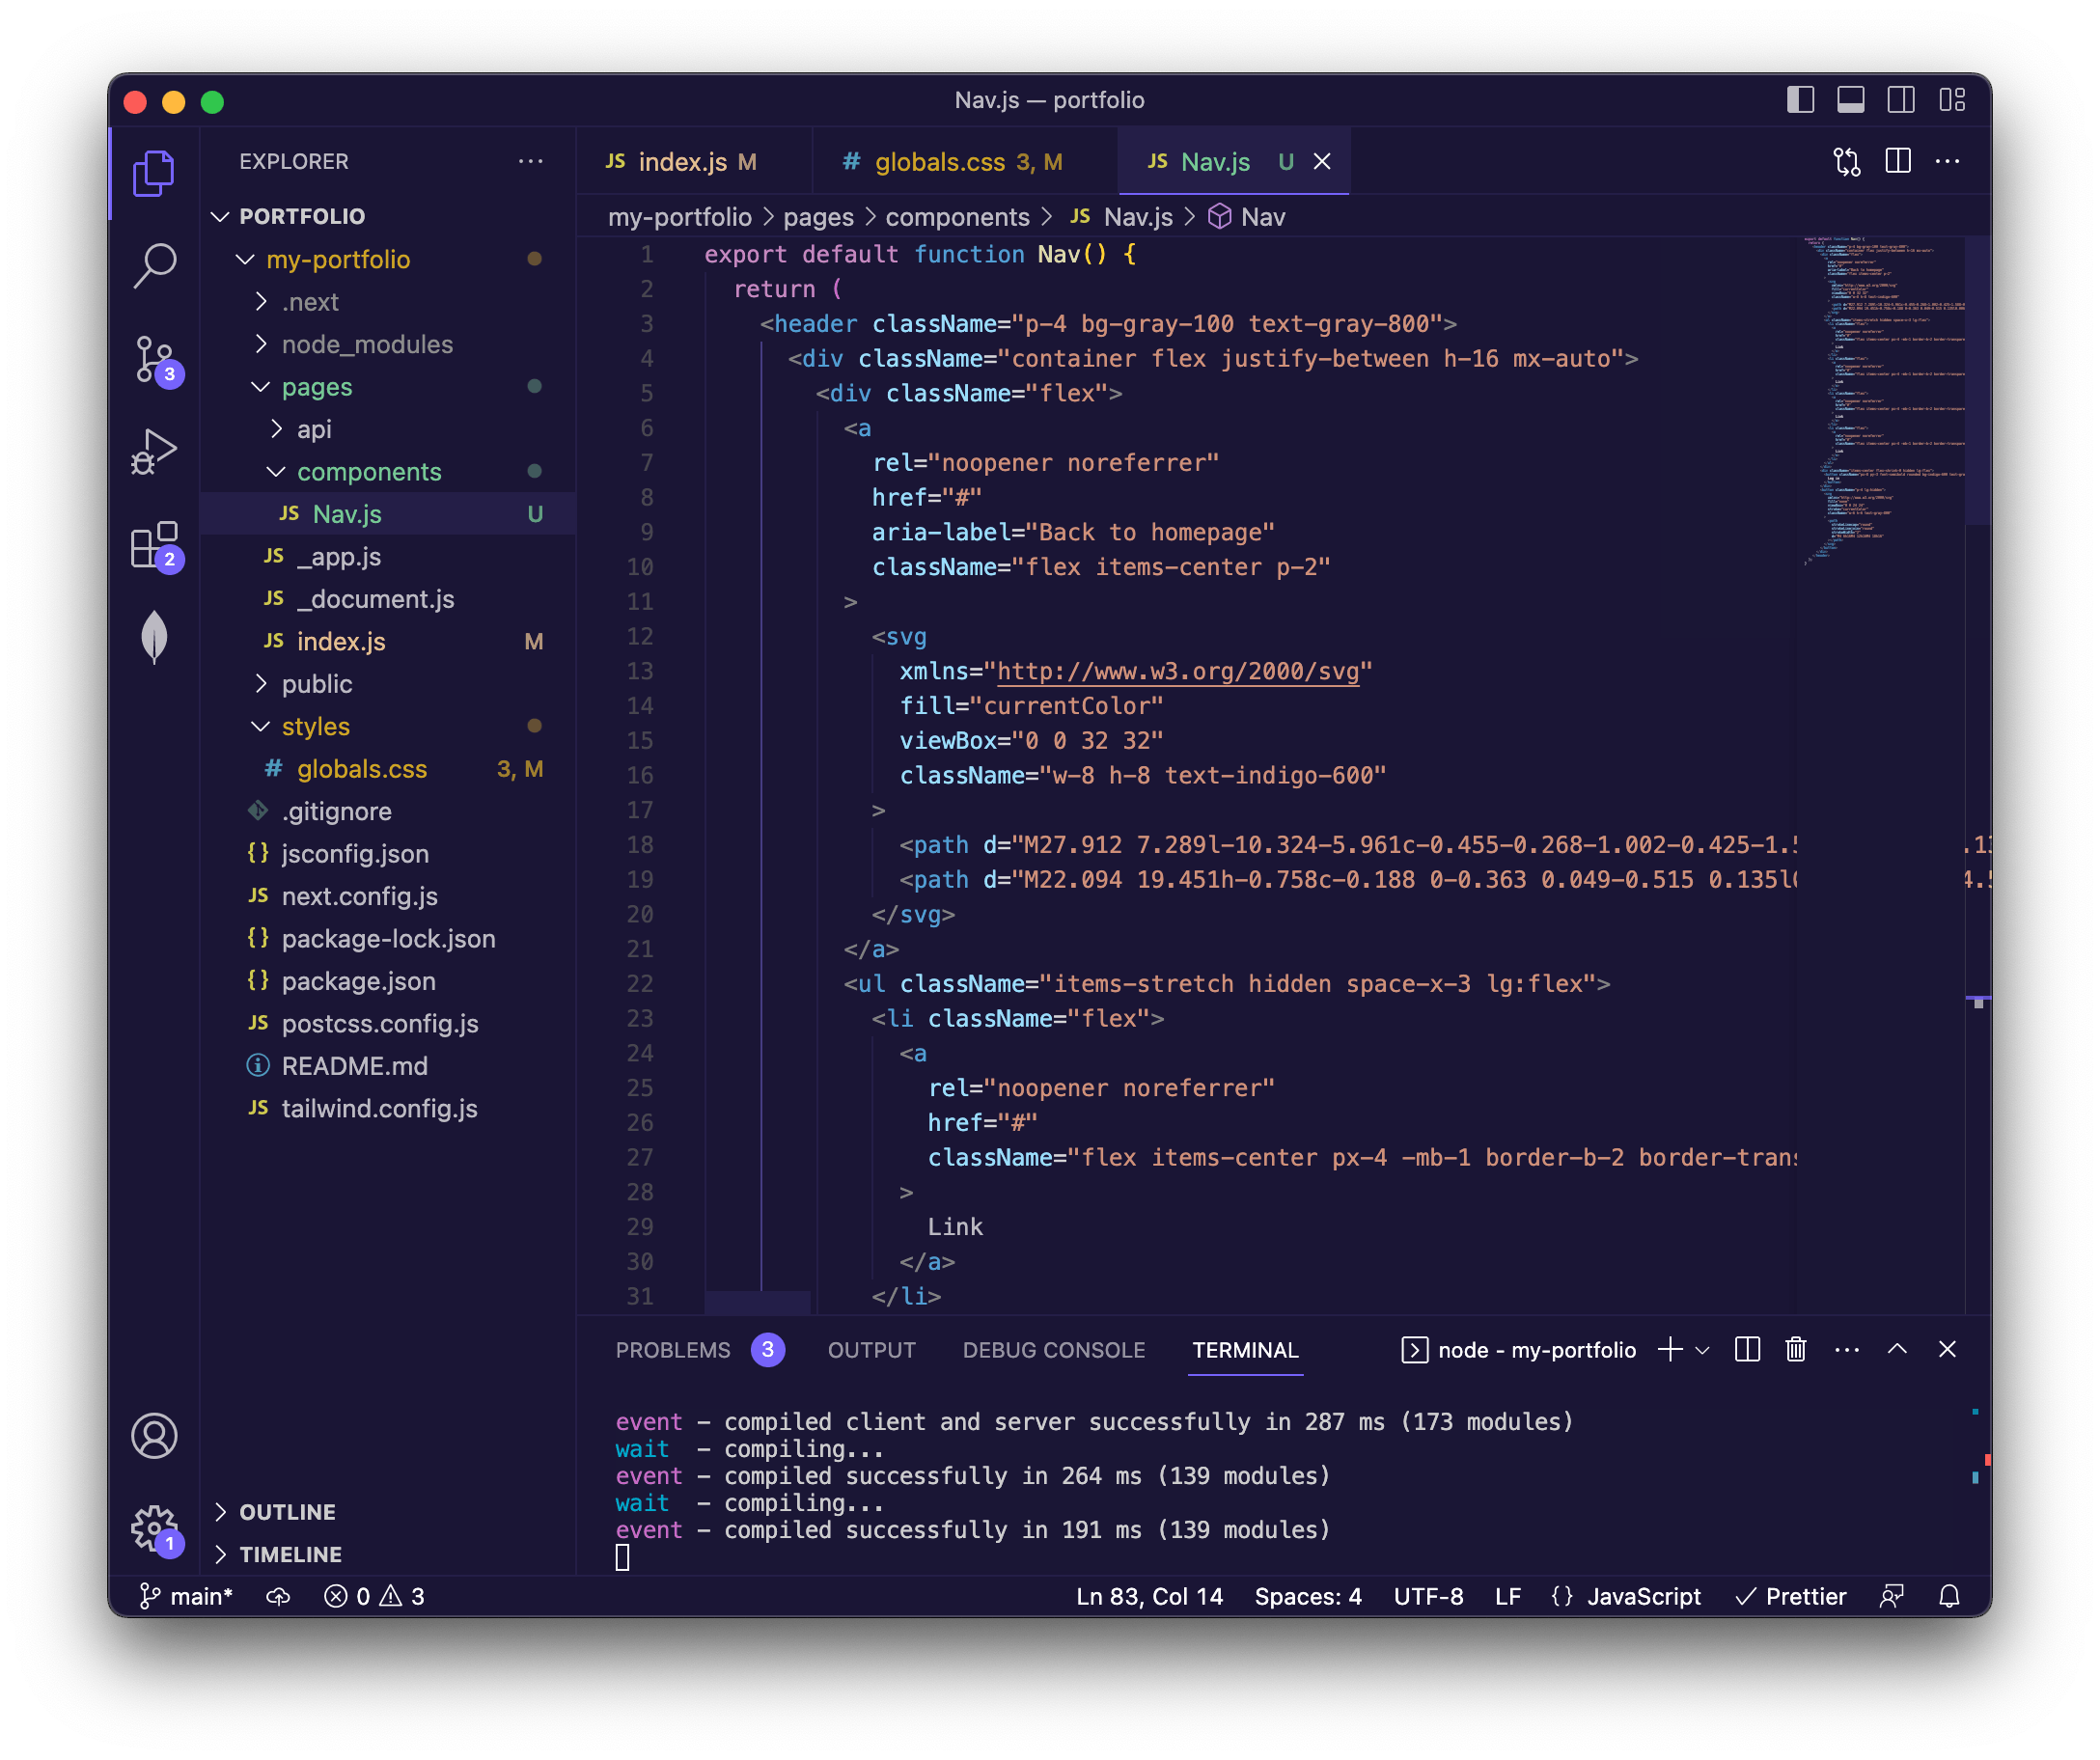
If I save this, nothing happens to my live website. Why?
Well, we need to import this component to our index.js.
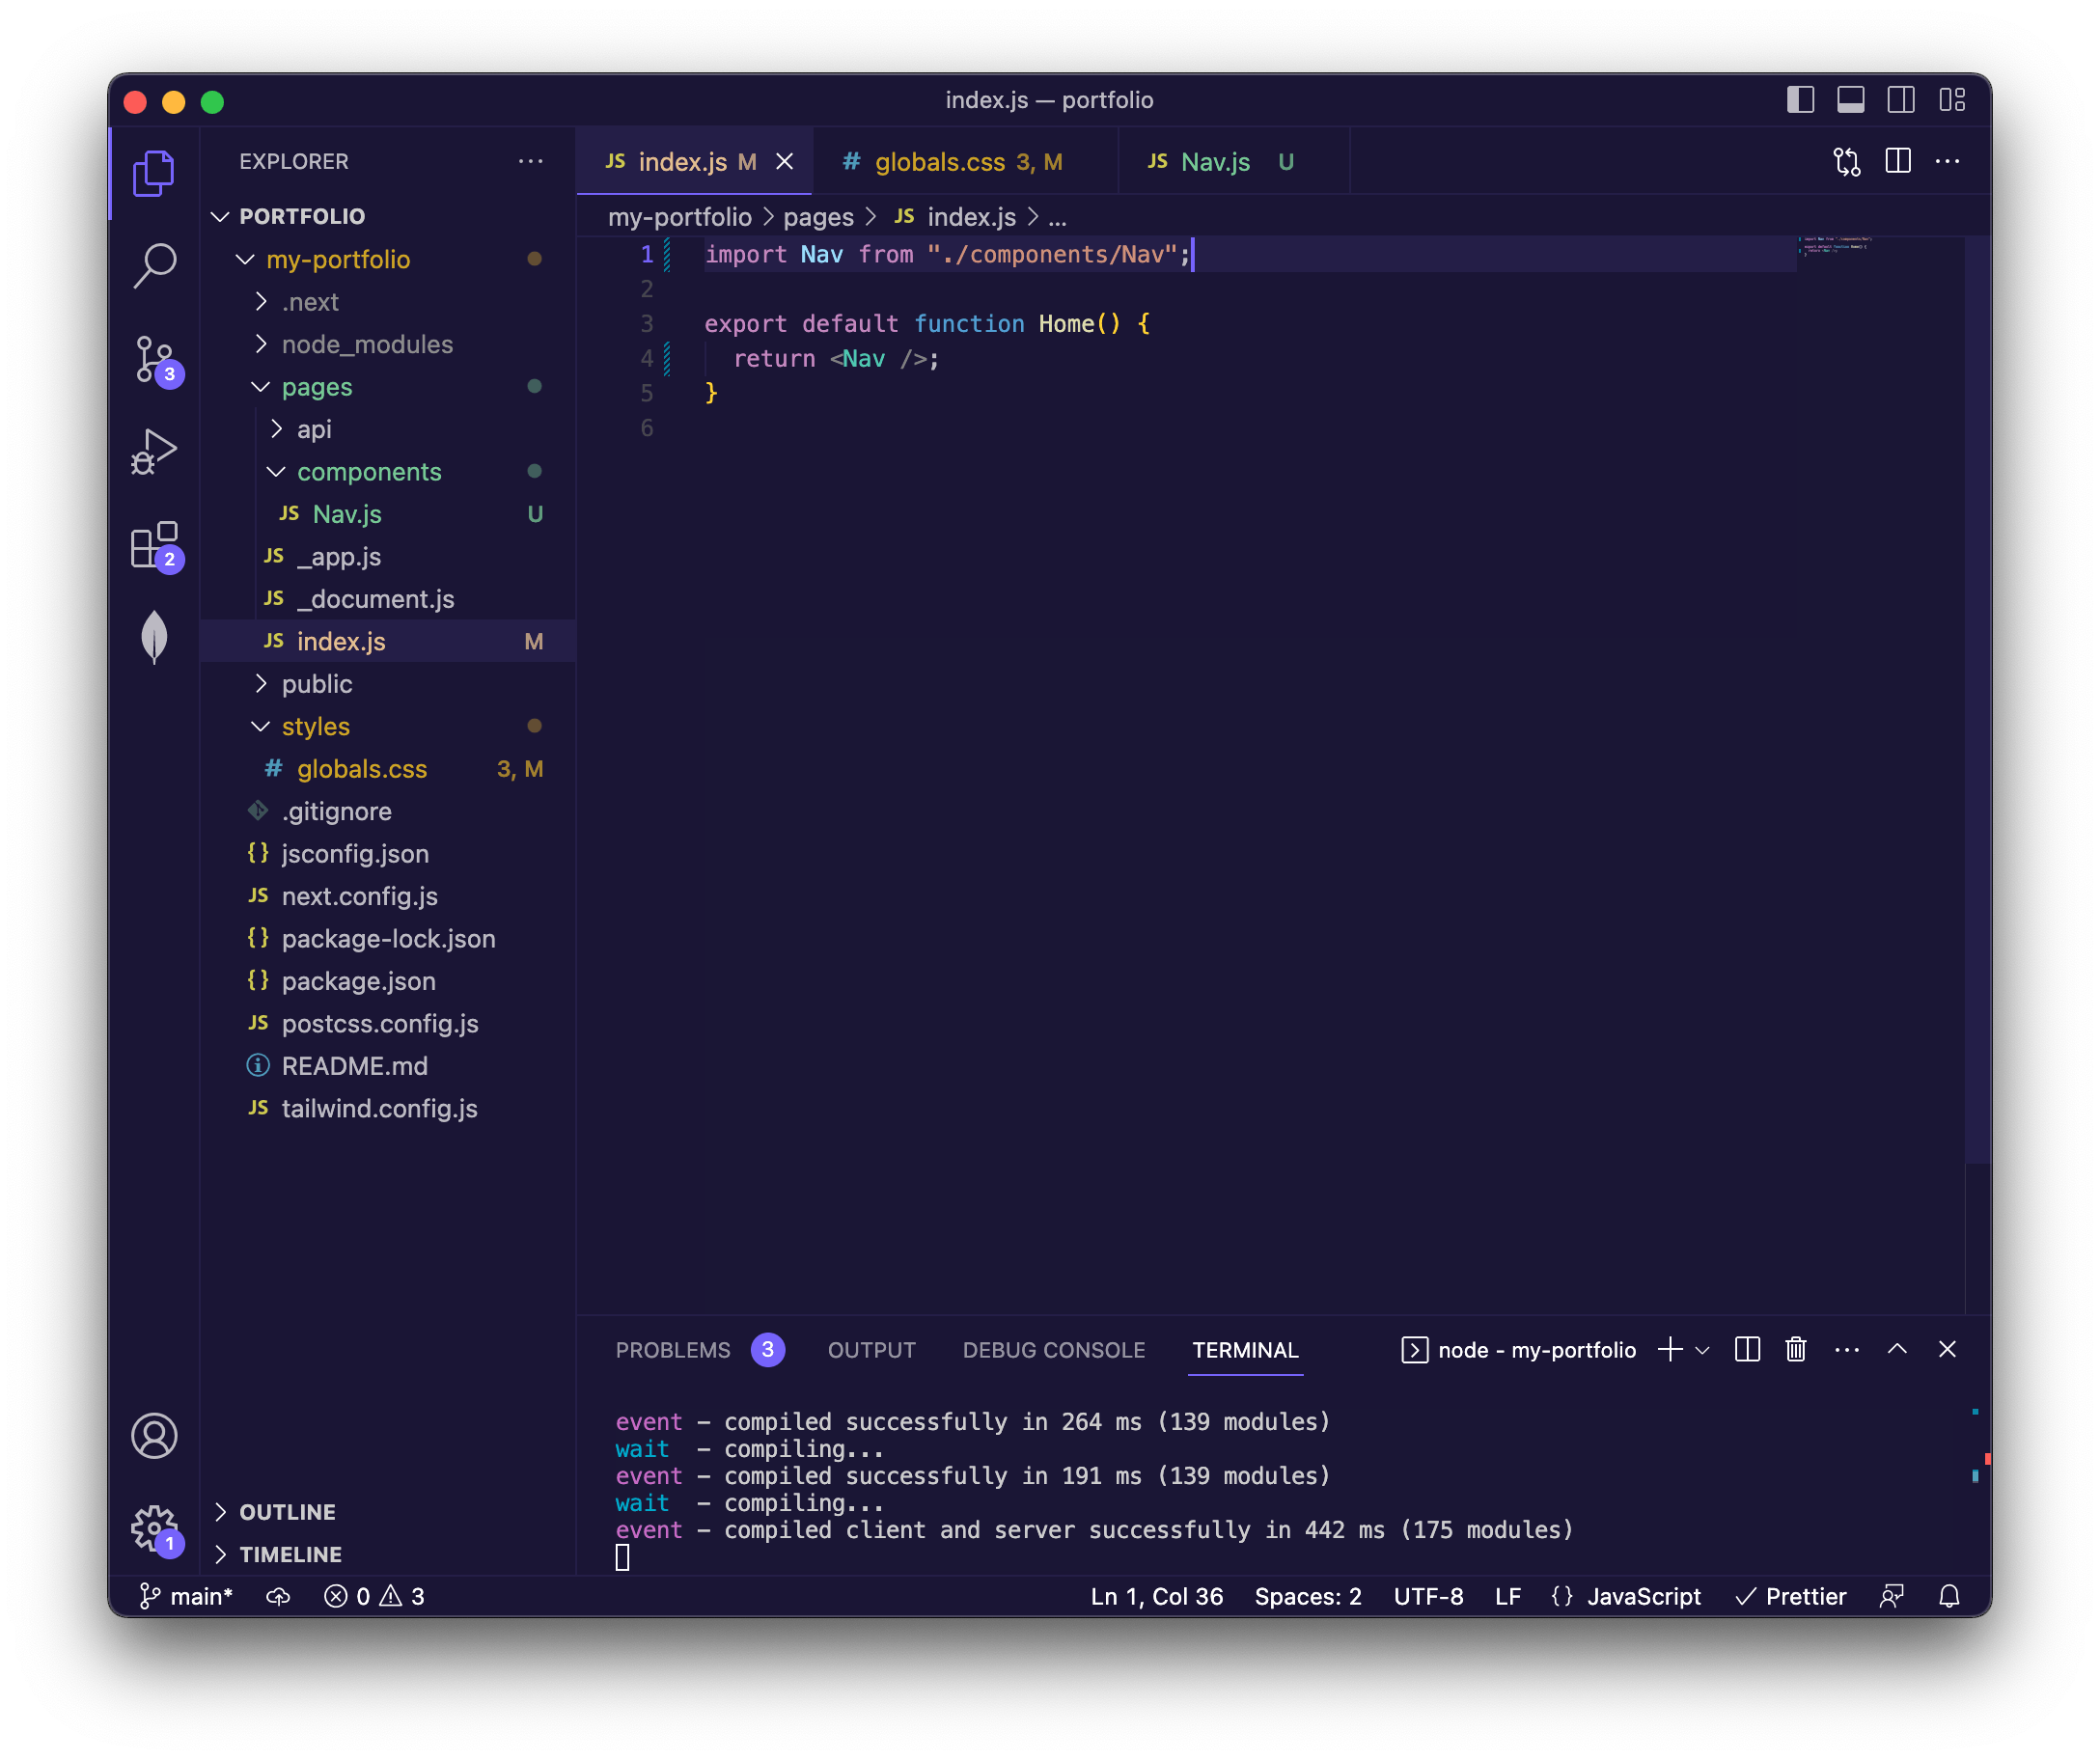
Take a look at our app once saved. (And revel in the nice auto-refresh feature from Next).
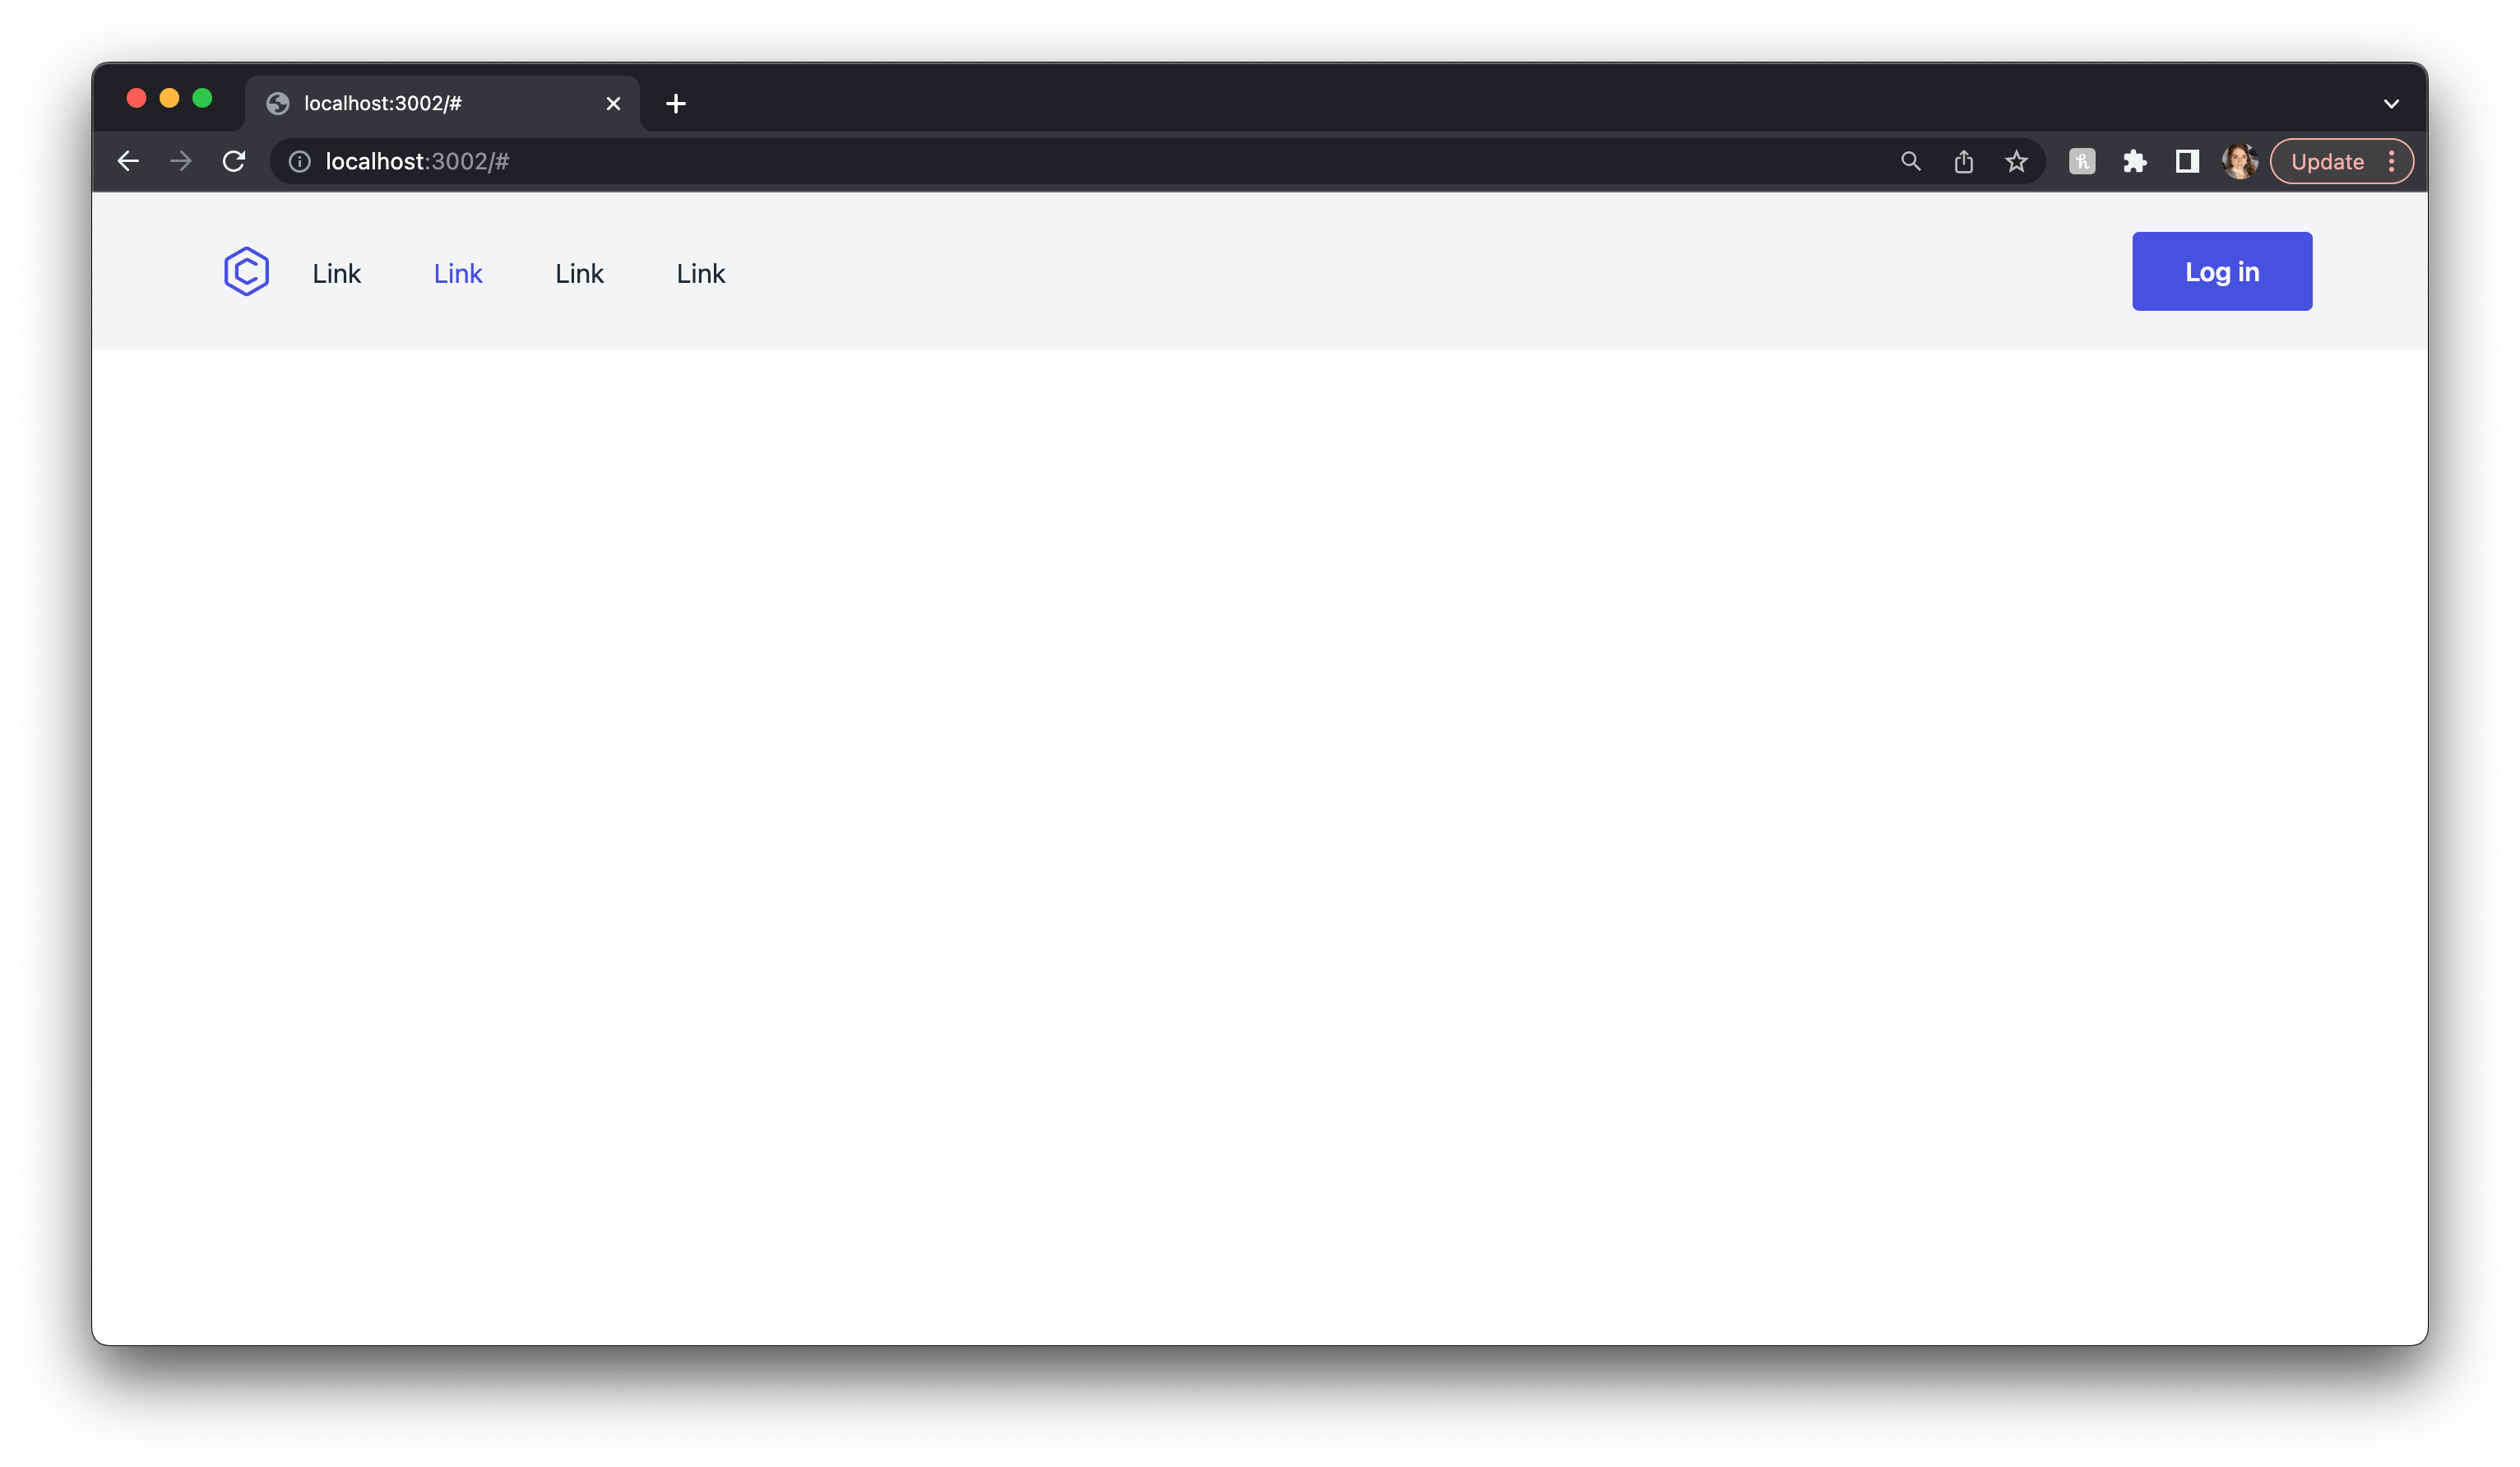
We have a Navbar! You see what I'm getting at? Let me just do this process several more times. Hint: usually a website starts with a hero section.
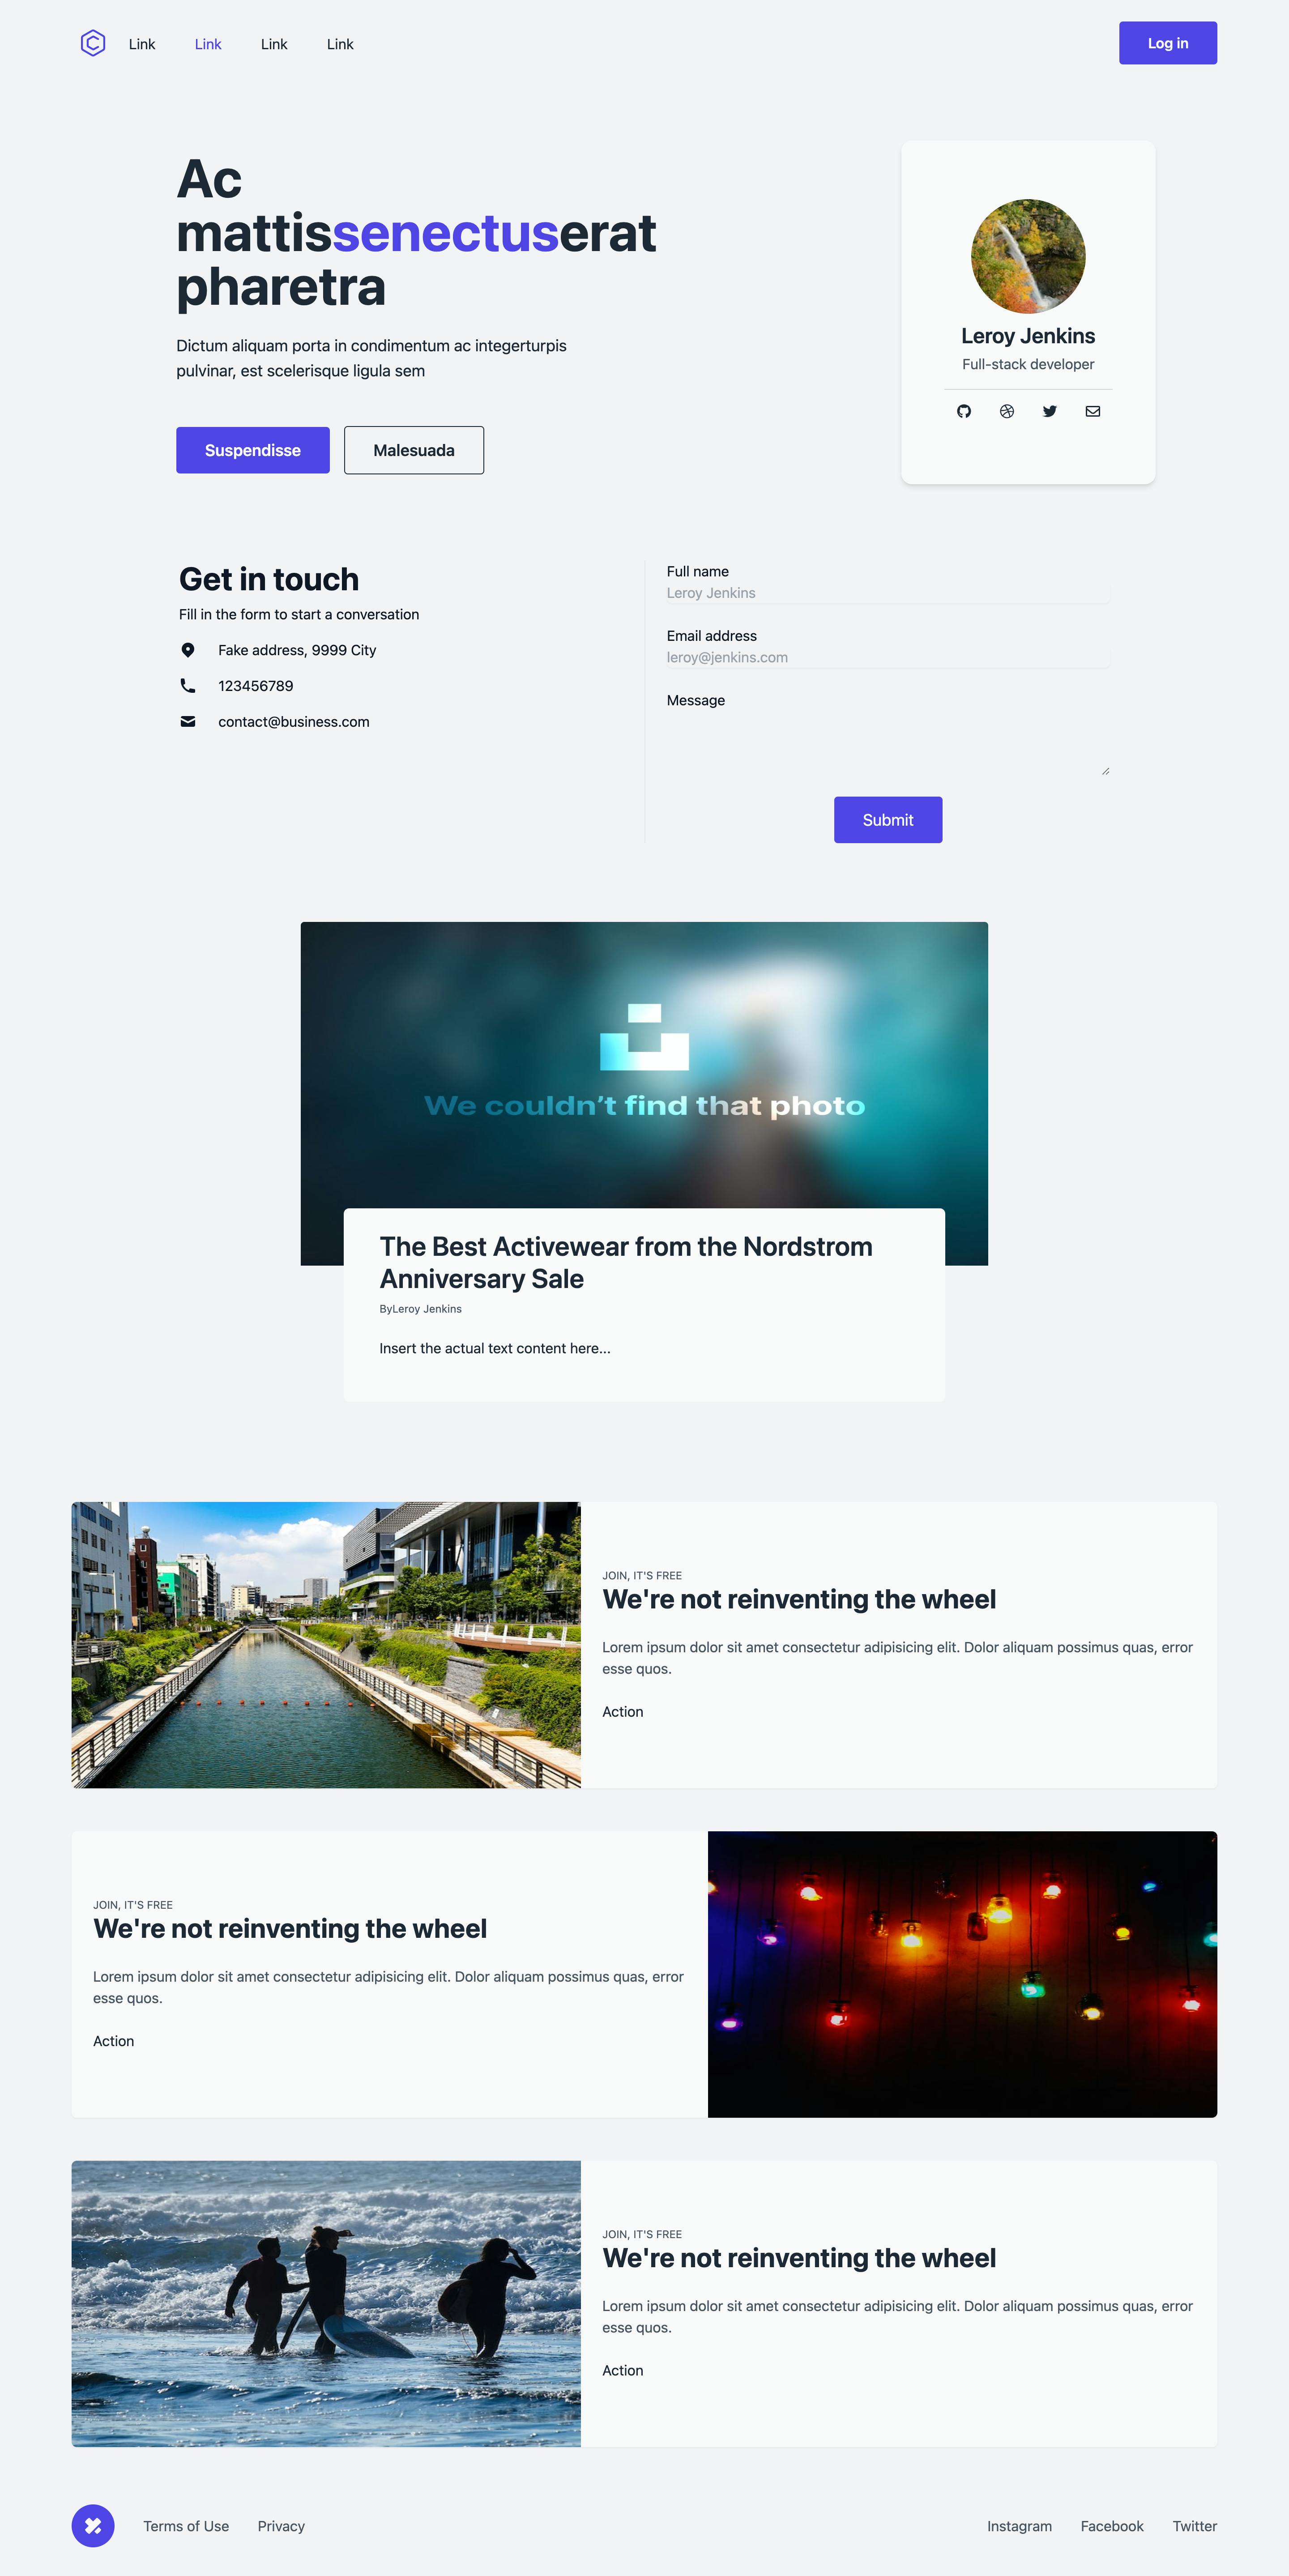
This is what I came up with.
That's only six MambaUI components, and now I have a great base to customize. And it took minutes! Hopefully, you can see why I suggested not creating a mockup. Instead, treat the MambaUI components as the mockup/wireframe to customize once you have them laid out.
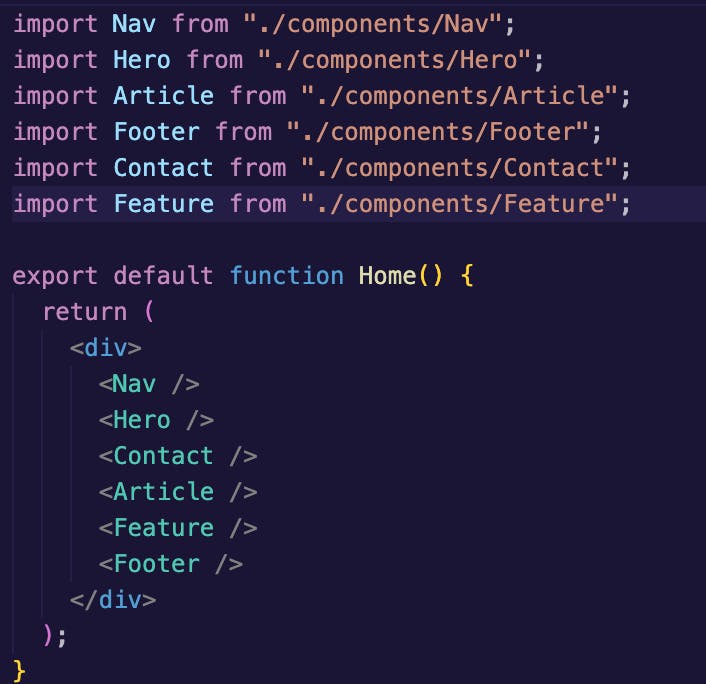
If you're curious, my site is a header component, then a modified hero, where I added a card to put in my information. There is a contact section beneath that. An article section and feature (which I'll make a gallery for recent projects), and a footer.
Take a look at my index.js code below.
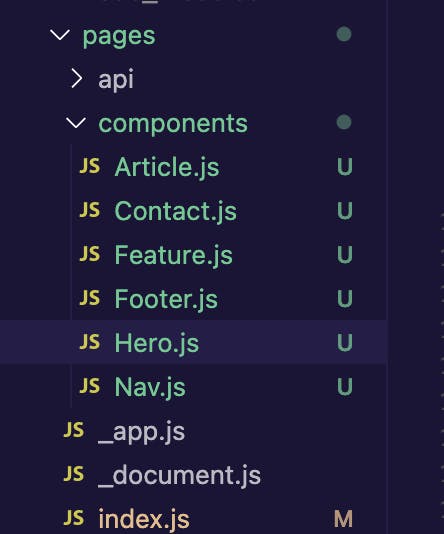
And here's a screenshot of my components folder (above).
In structuring this way, we're retaining modularity. The benefit of this? Instead of hunting around a code wall to modify one single line, you know exactly which file that code belongs in. And to move, say, the <Article /> element, you only need to move that single line of code in index.js.
The other benefit is that we can reuse certain components on other pages of our site as it grows!
If you've followed so far, you now have the skeleton of your website. I'm going to put the customizations into a second part. If you have any questions, you can hit me on Twitter @mackensiejack. See you soon!